Step-by-step instructions for automatic document stamping
With Automatic PDF Processor, you can automatically add professional stamps to your
contracts and documents. Whether it's a received stamp, approval mark, or company stamp -
the task is done automatically.
Typical use cases
- Received stamp: Mark incoming documents with date and "RECEIVED"
- Approval stamp: Mark contracts as "APPROVED" or "RELEASED"
- Draft stamp: Mark preliminary versions as "DRAFT"
- Confidentiality stamp: Mark documents as "CONFIDENTIAL" or "INTERNAL"
Step 1: Create a new profile
Create a new profile with a descriptive name such as "Stamp contracts".
Set the monitored folder.
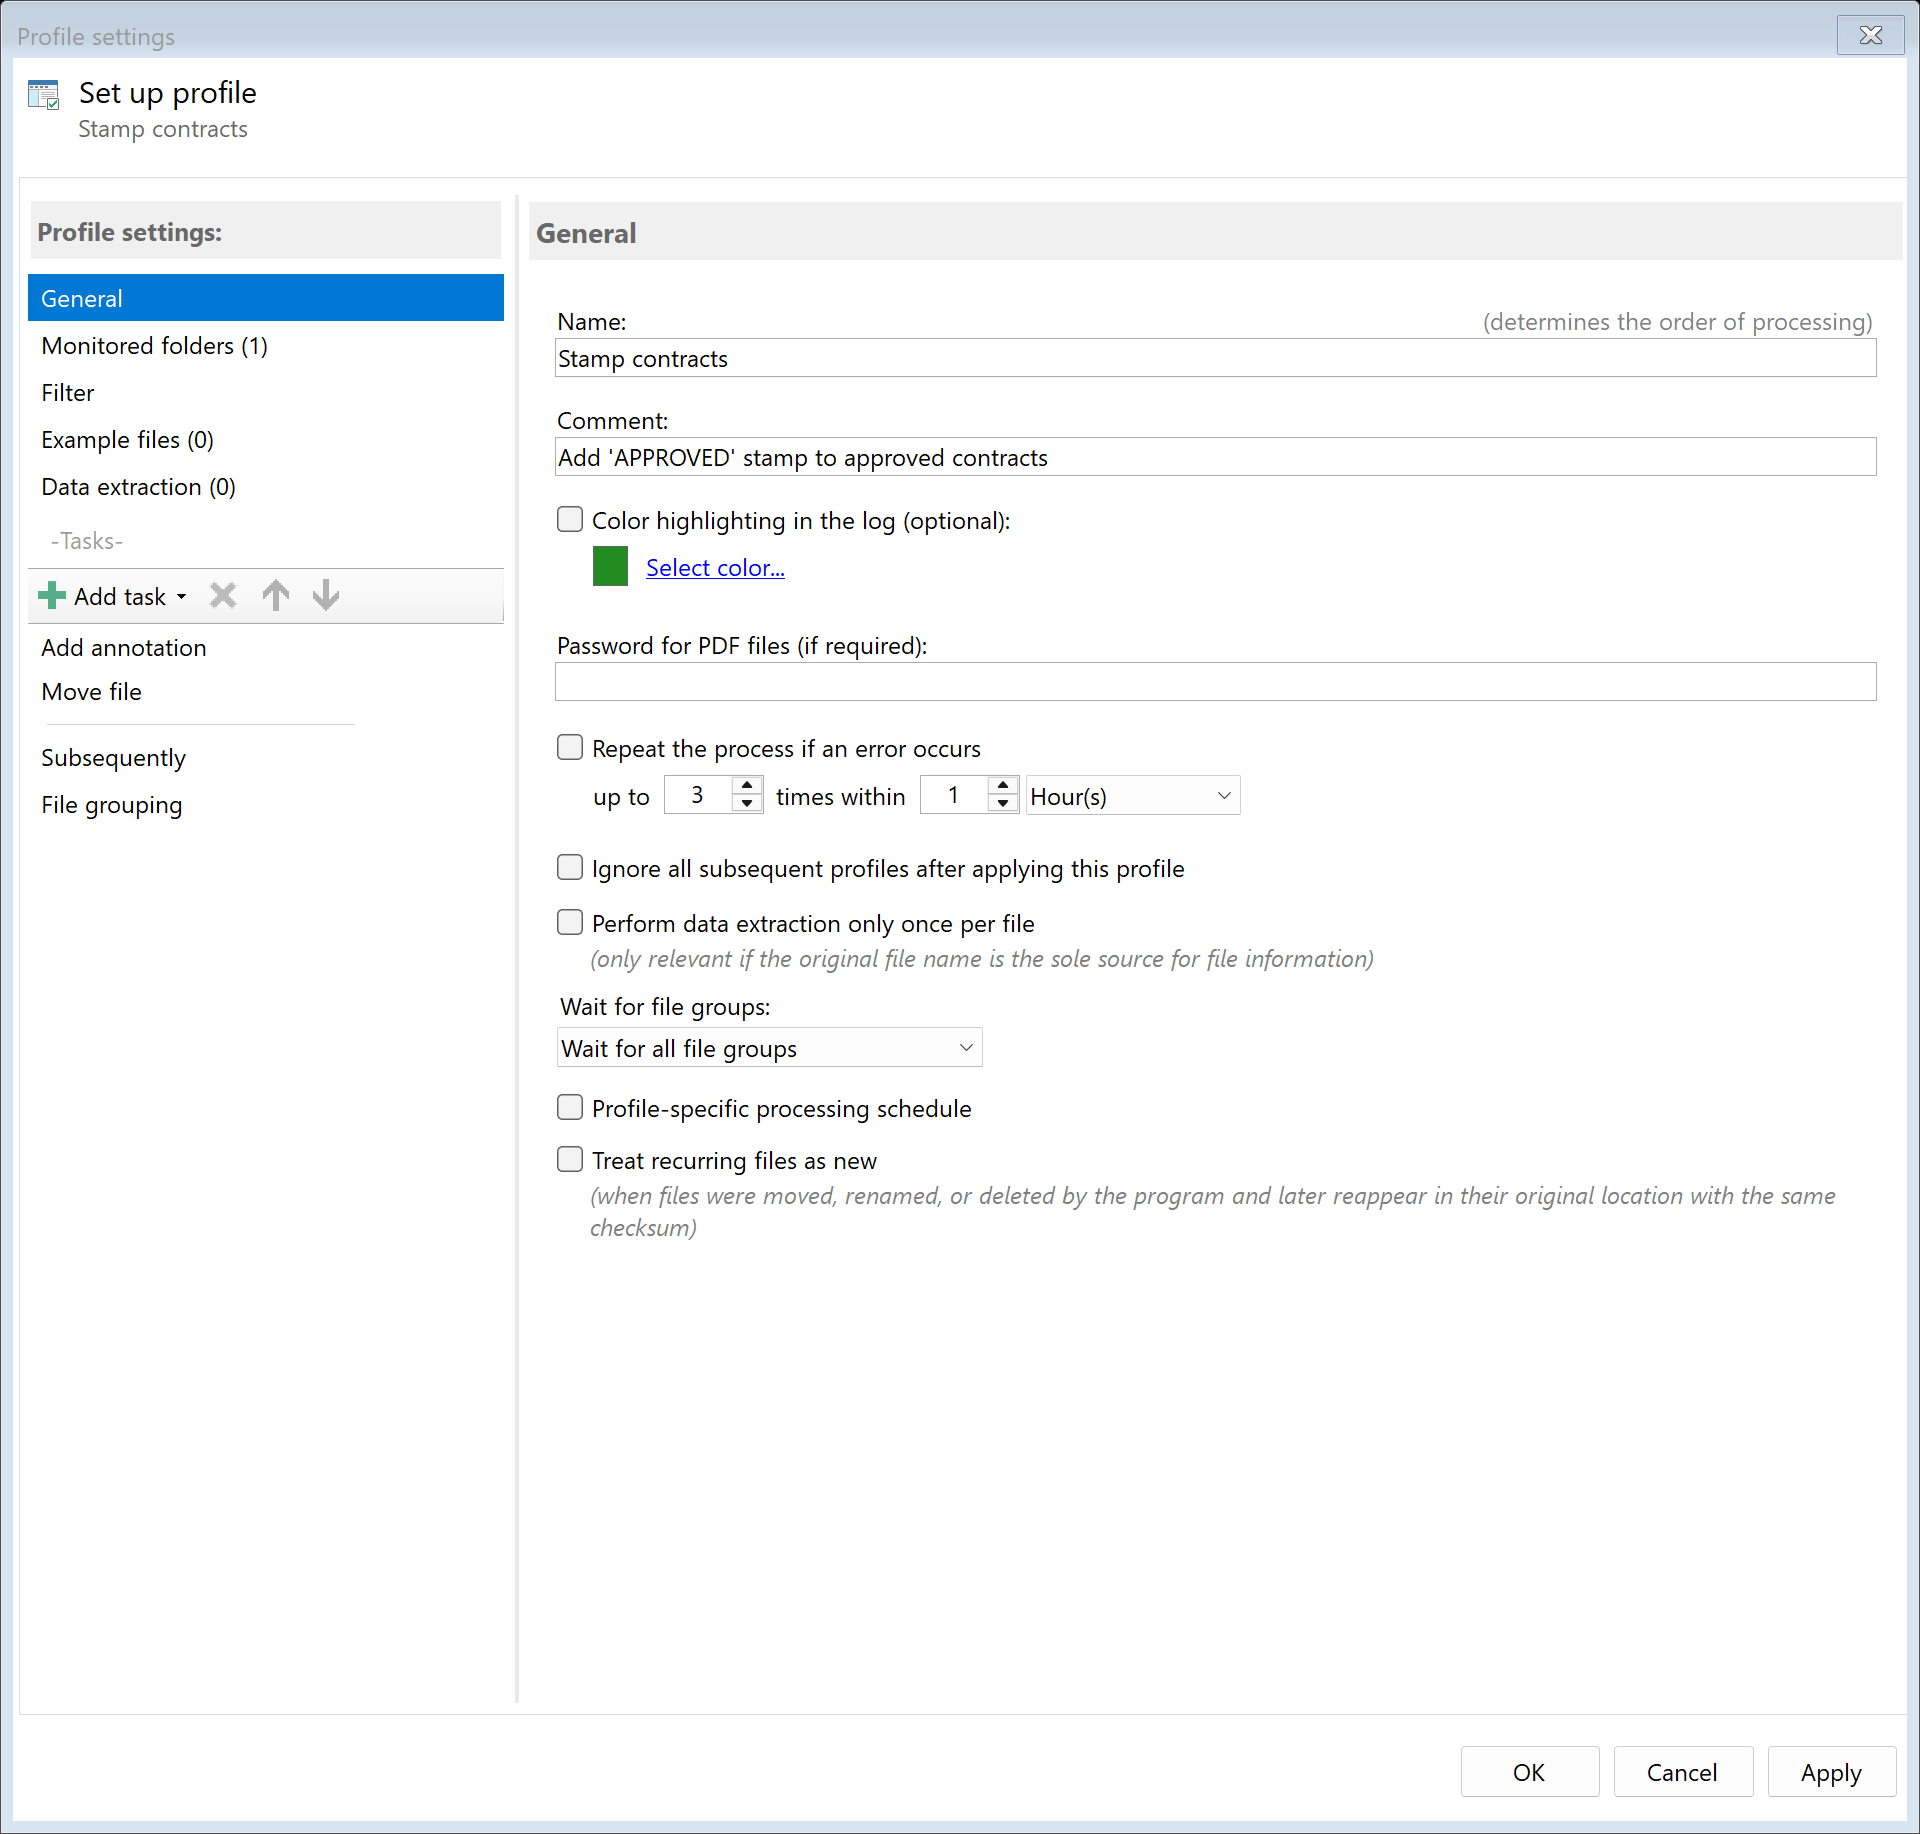
Step 2: Enable the "Add Stamp/Watermark" task
Switch to the task view and select the "Add Stamp/Watermark" task.
Choose the "Stamp" type.
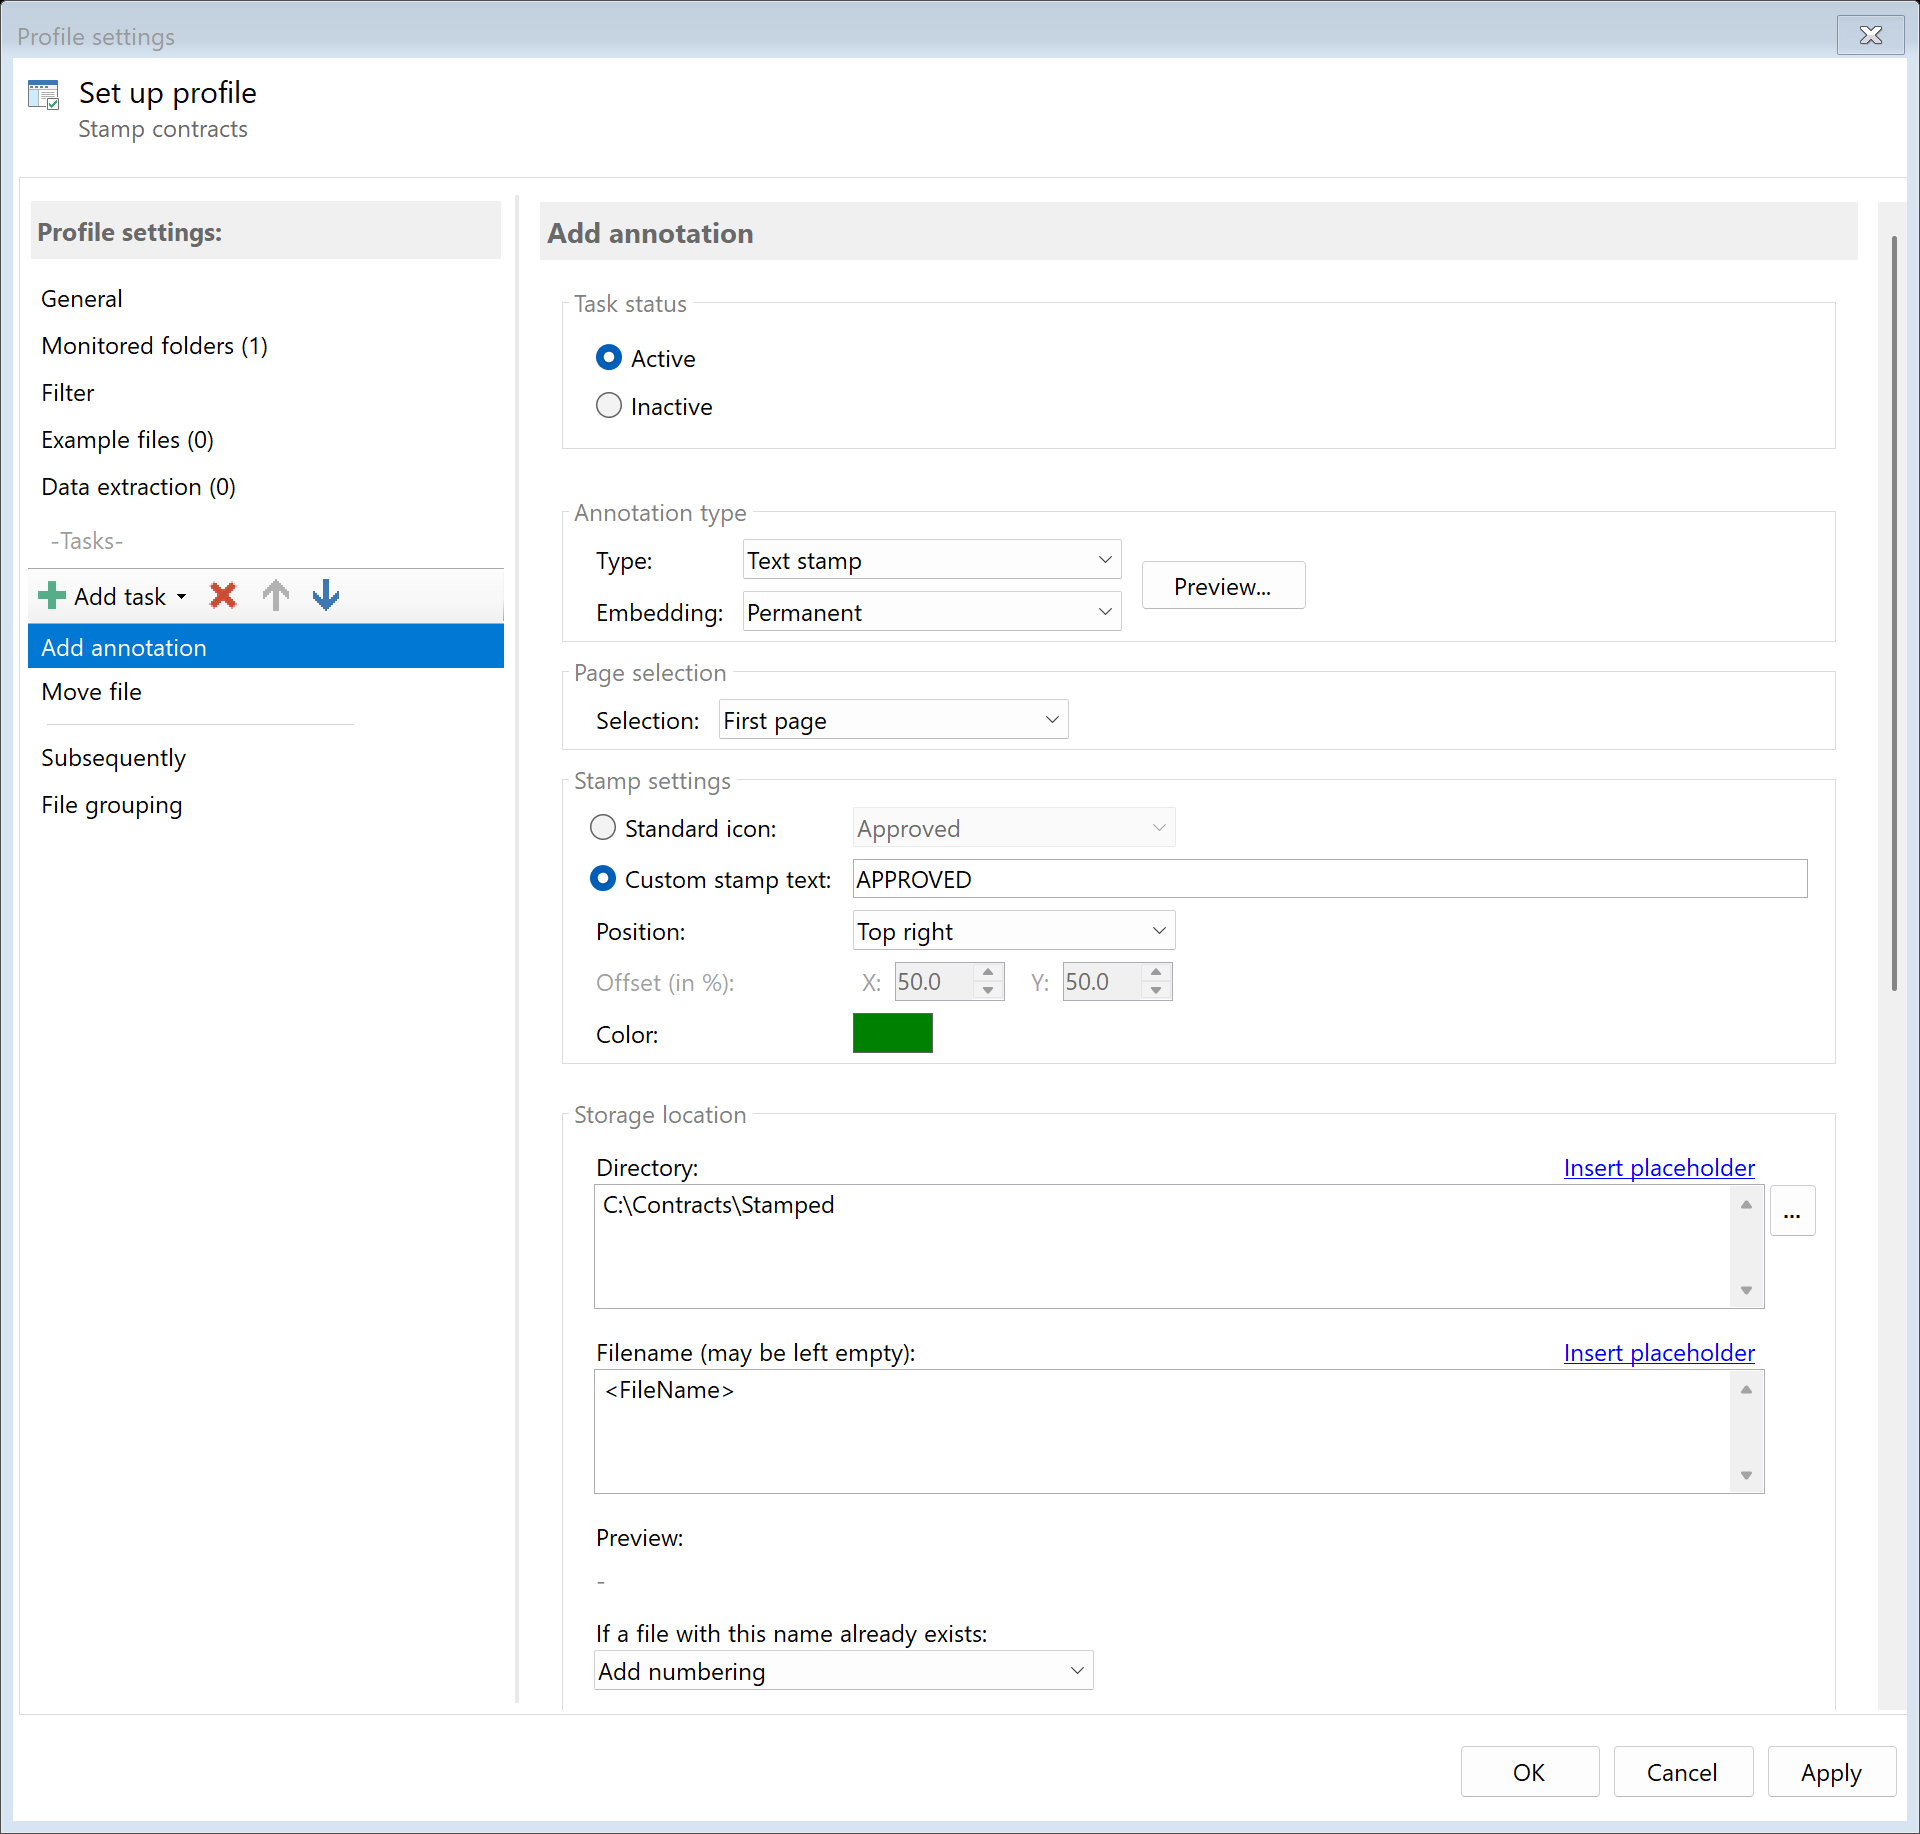
Step 3: Choose stamp type
Choose between predefined standard stamps or custom text:
Standard stamps
- APPROVED
- DRAFT
- CONFIDENTIAL
- FINAL
- FOR COMMENT
- NOT APPROVED
- ... and more
Custom stamp
Create your own stamp with any text, for example:
- "RECEIVED on <TodaysDate>"
- "PAID"
- "REVIEWED"
- "RELEASED BY [Department]"
Step 4: Set the position
Place the stamp at the desired position:
| Position |
Typical usage |
| Top left |
Received stamp with date |
| Top right |
Approval mark |
| Bottom left |
File reference, reference number |
| Bottom right |
Page number, note |
| Custom |
Exact position in percent from page margin |

Step 5: Customize stamp properties
Customize the appearance of the stamp:
- Color: Red for important marks, Blue for formal stamps
- Page selection: First page only, all pages, or specific pages
- Embedding: As annotation (editable) or burned in (permanent)

Example: Received stamp with date
A classic received stamp could look like this:
RECEIVED
<TodaysDate>
The program automatically replaces <TodaysDate> with the current date, e.g., "01/15/2025".
Result
After configuration, all documents placed in the monitored folder are automatically
stamped with the configured stamp.