Step-by-step instructions for automatically adding watermarks
Watermarks clearly mark documents as confidential, as drafts, or with your
company logo. With Automatic PDF Processor, you automatically add watermarks
to your PDF documents.
Typical use cases
- CONFIDENTIAL: Mark sensitive documents before sharing
- DRAFT: Mark preliminary document versions
- COPY: Distinguish between originals and copies
- Company logo: Branding of outgoing documents
- Date stamp: Timestamp for print date
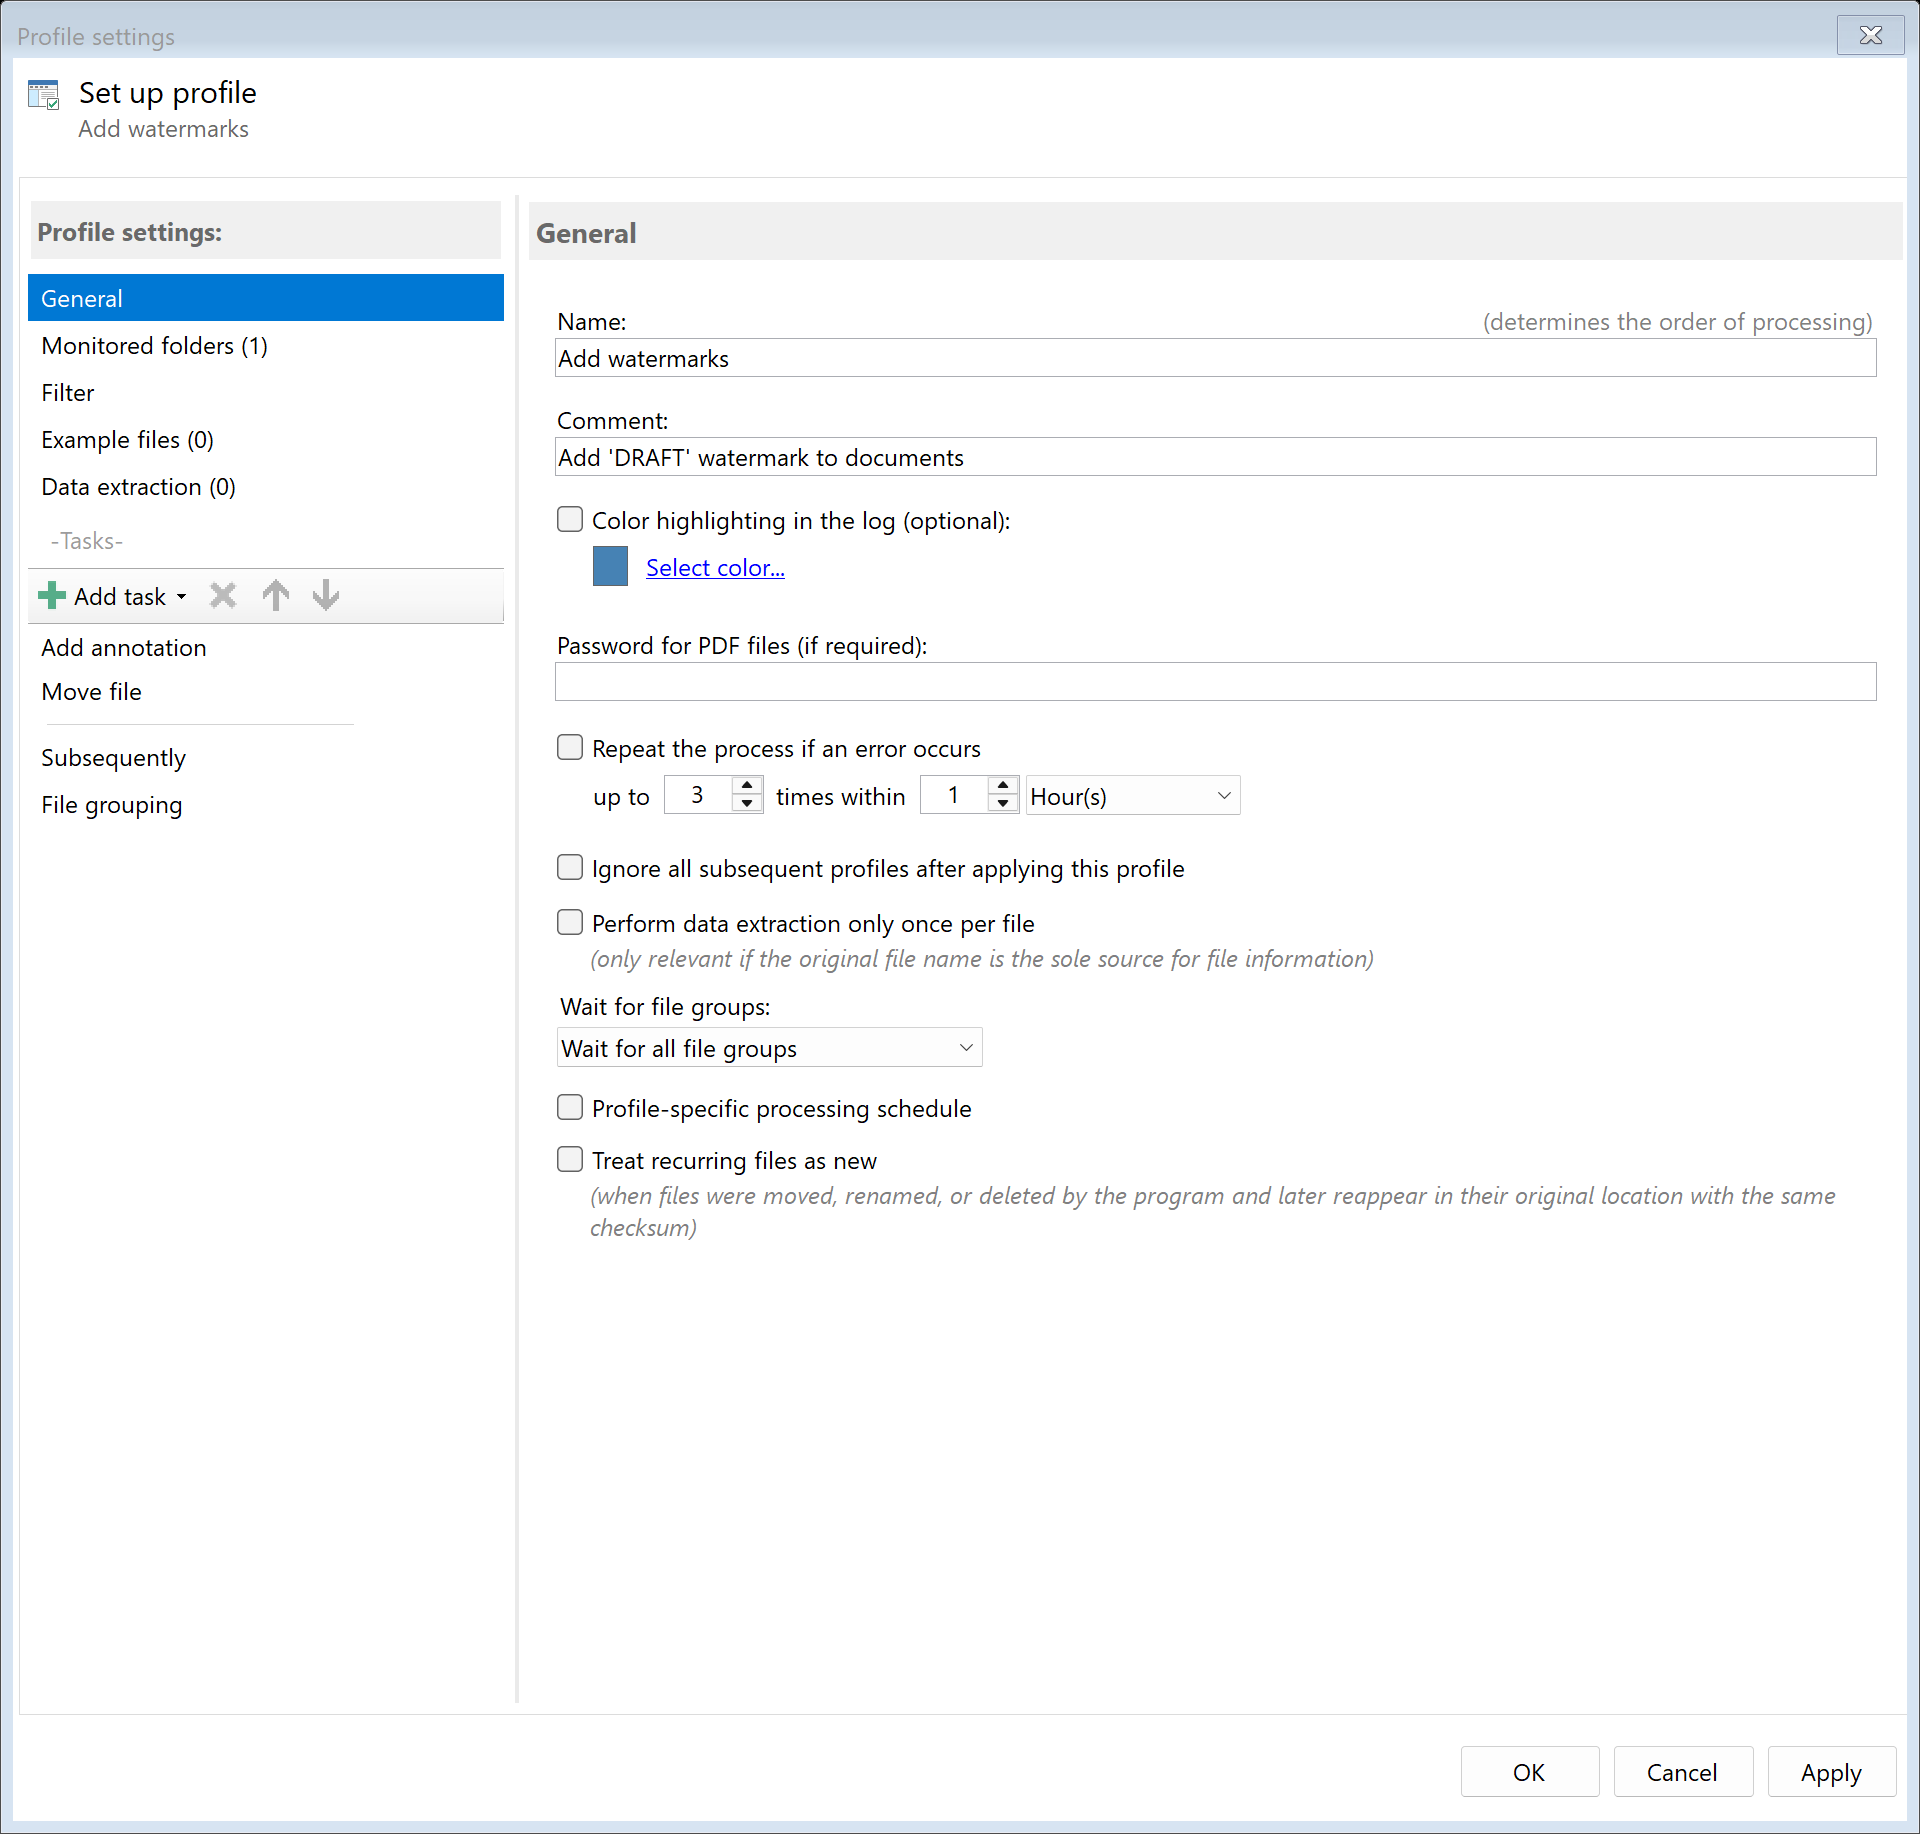
Step 1: Create a new profile
Create a new profile with a descriptive name such as "Add watermark".
Set up the monitored folder.
Step 2: Activate the "Stamp/Watermark" task
Go to the task view and select the "Stamp/Watermark" task.
Select the type "Watermark".
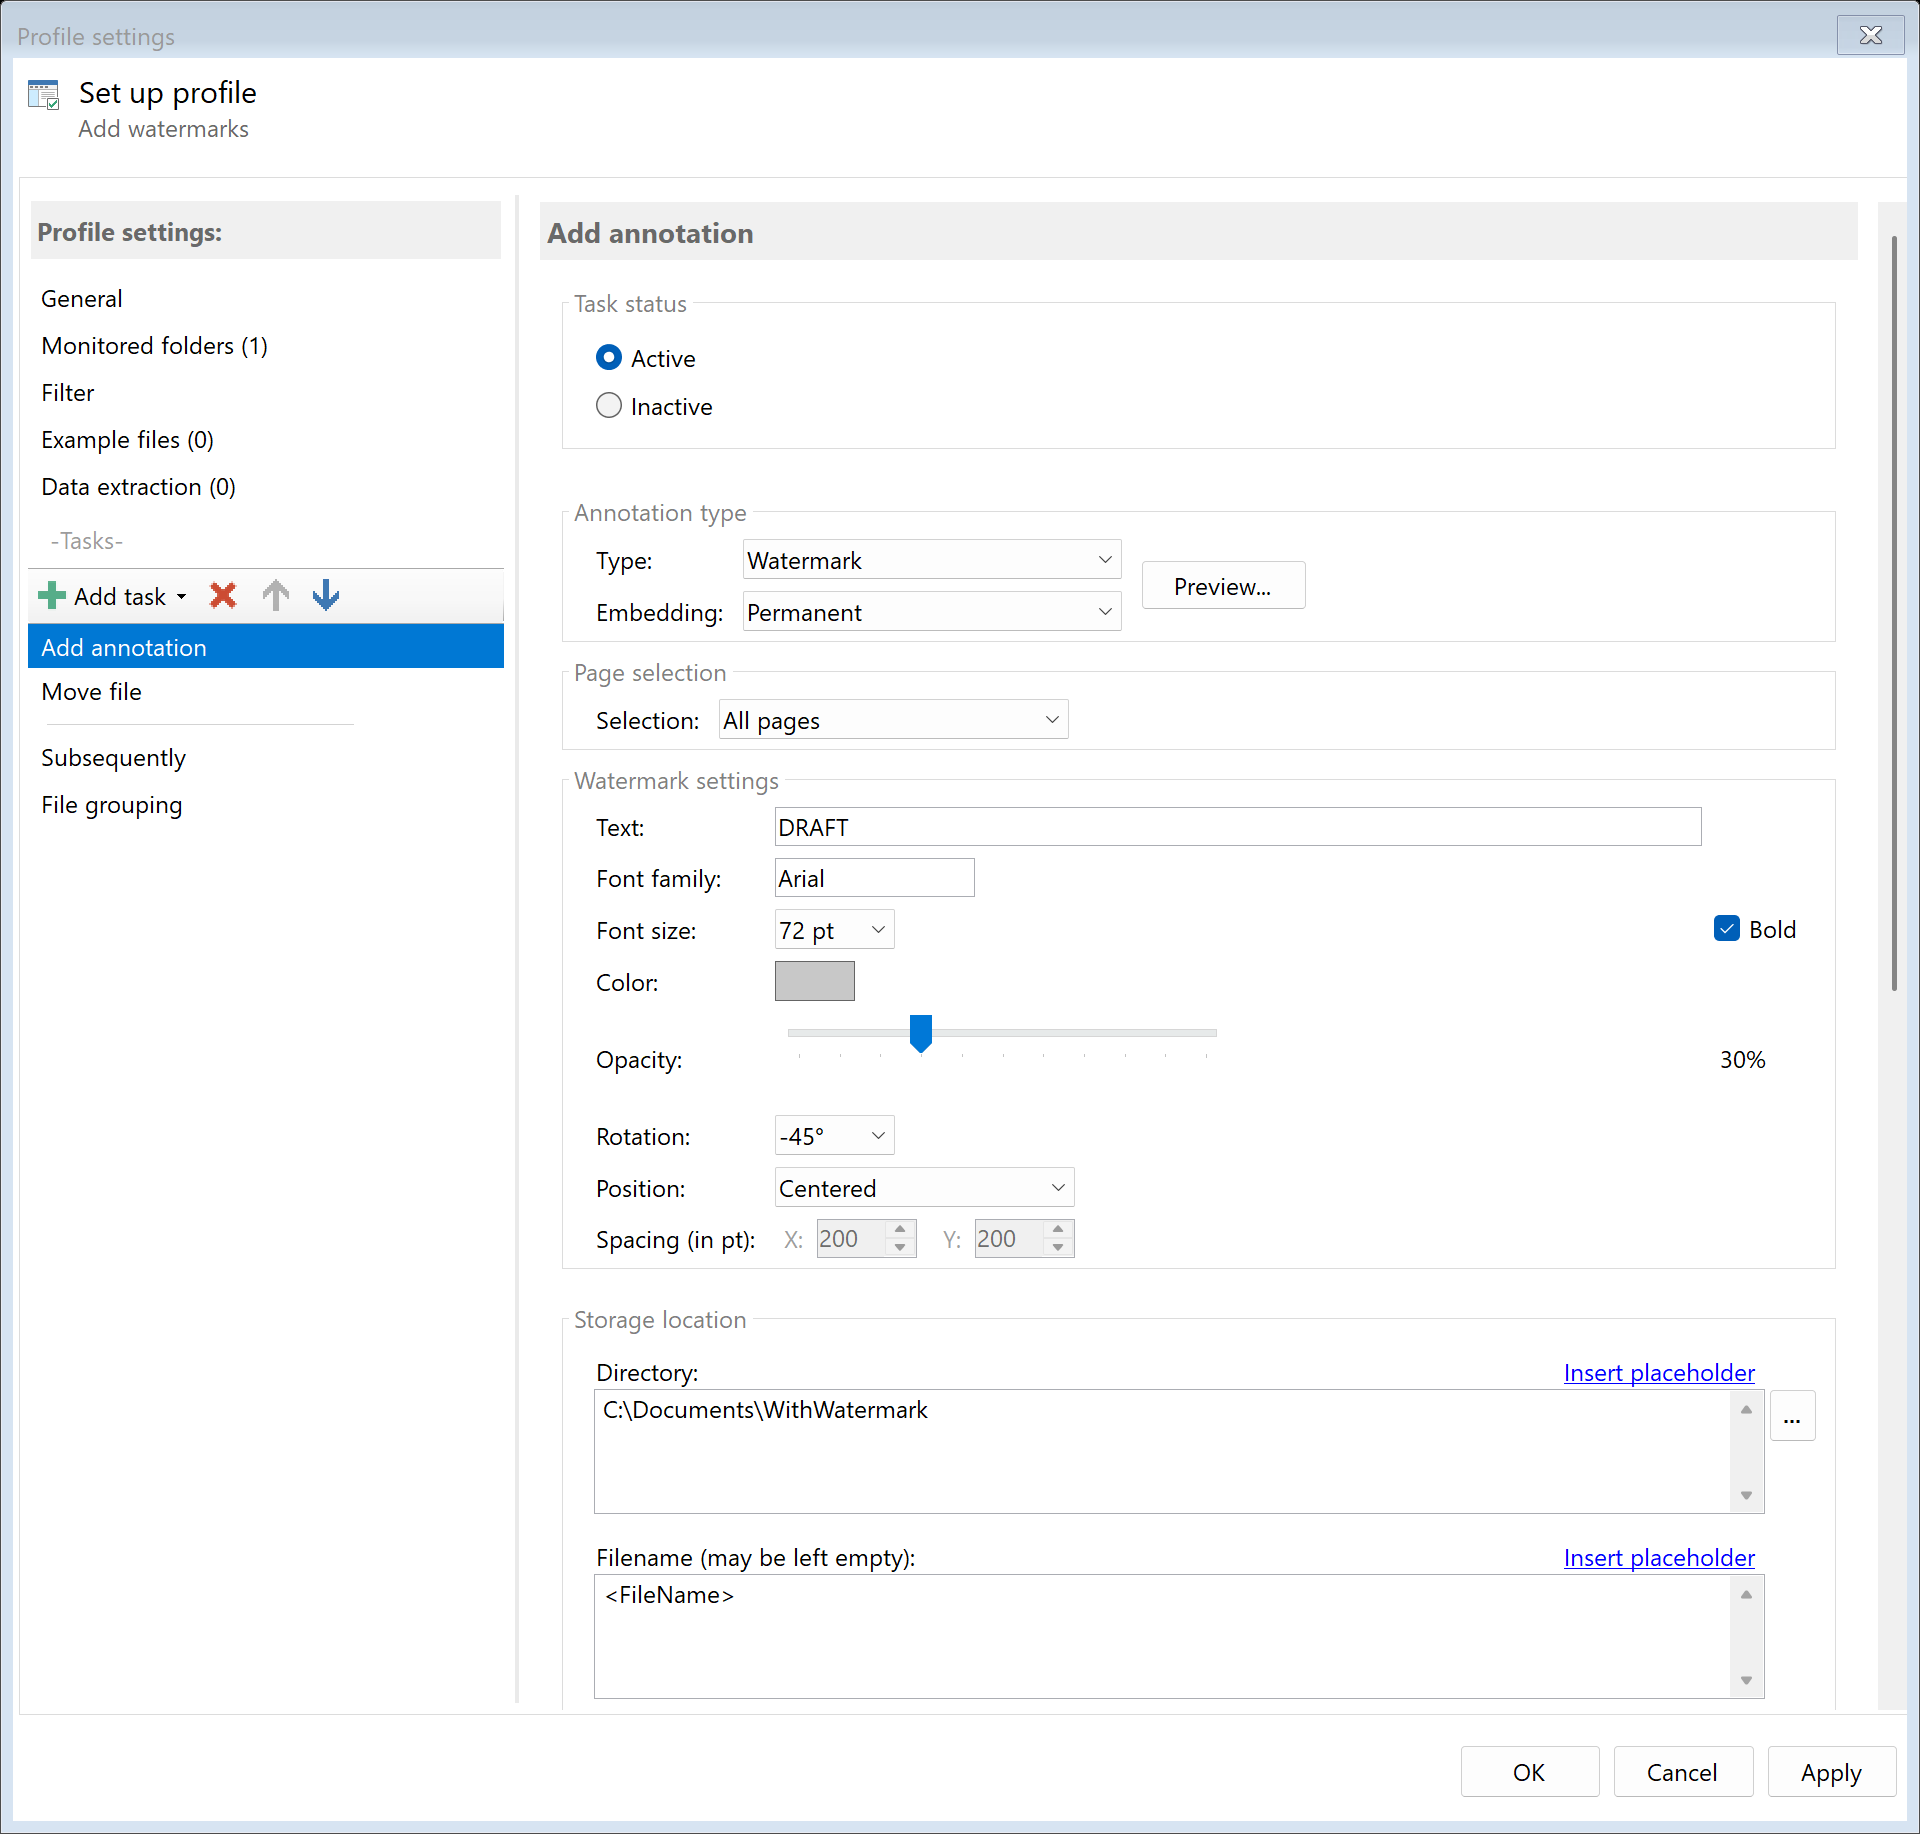
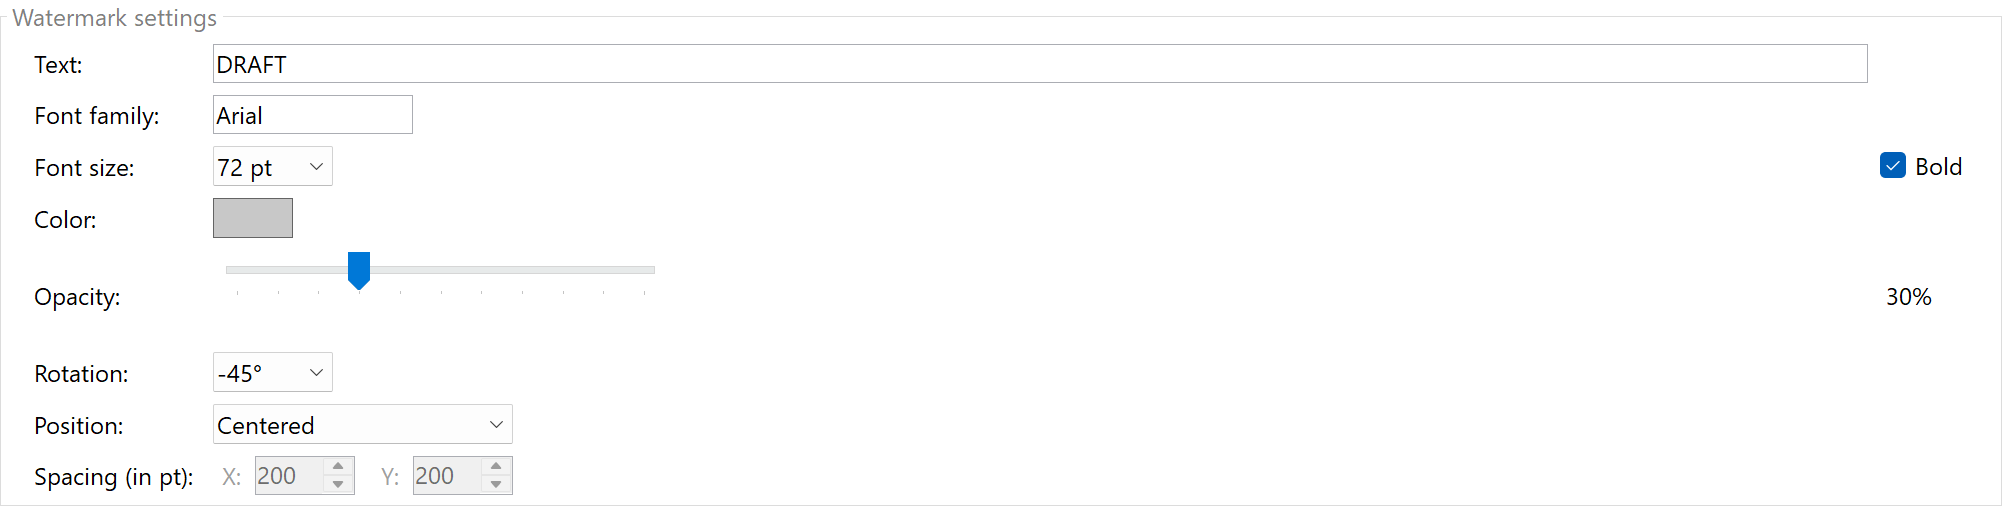
Step 3: Configure watermark text
Enter the desired text for the watermark:
| Setting |
Description |
Example |
| Text |
The text to display |
"CONFIDENTIAL", "DRAFT", "COPY" |
| Font |
The font to use |
Arial, Times New Roman |
| Font size |
Size in points |
72 pt (large), 36 pt (medium) |
| Color |
Text color (RGB) |
Light gray (200,200,200), Red (255,0,0) |
| Opacity |
Transparency of watermark |
30% (subtle), 50% (visible) |
| Rotation |
Angle in degrees |
-45° (diagonal), 0° (horizontal) |
Step 4: Set position
Choose how the watermark should be positioned:
- Centered: One watermark centered on each page
- Tiled: Watermark is repeated across the entire page
With the tiled option, you can set the horizontal and vertical spacing between
the repetitions.
Step 5: Select pages
Specify which pages the watermark should appear on:
- All pages: Watermark on every page
- First page: Only on the first page
- Last page: Only on the last page
- Page range: Specific pages (e.g., 1-3, 5)

Step 6: Choose embedding mode
Choose how the watermark should be embedded:
- As annotation: The watermark remains as a separate layer and can be removed later
- Flattened: The watermark is permanently integrated into the document and cannot be removed
Recommendation: Choose "Flattened" for documents where the watermark
should remain permanently visible.

Result
After configuration, all documents placed in the monitored folder are automatically
provided with the configured watermark.