Step-by-step instructions for automatically merging PDF files with Automatic PDF Processor for Windows
Video tutorial: Automatically merge PDF files (with narration and optional subtitles)
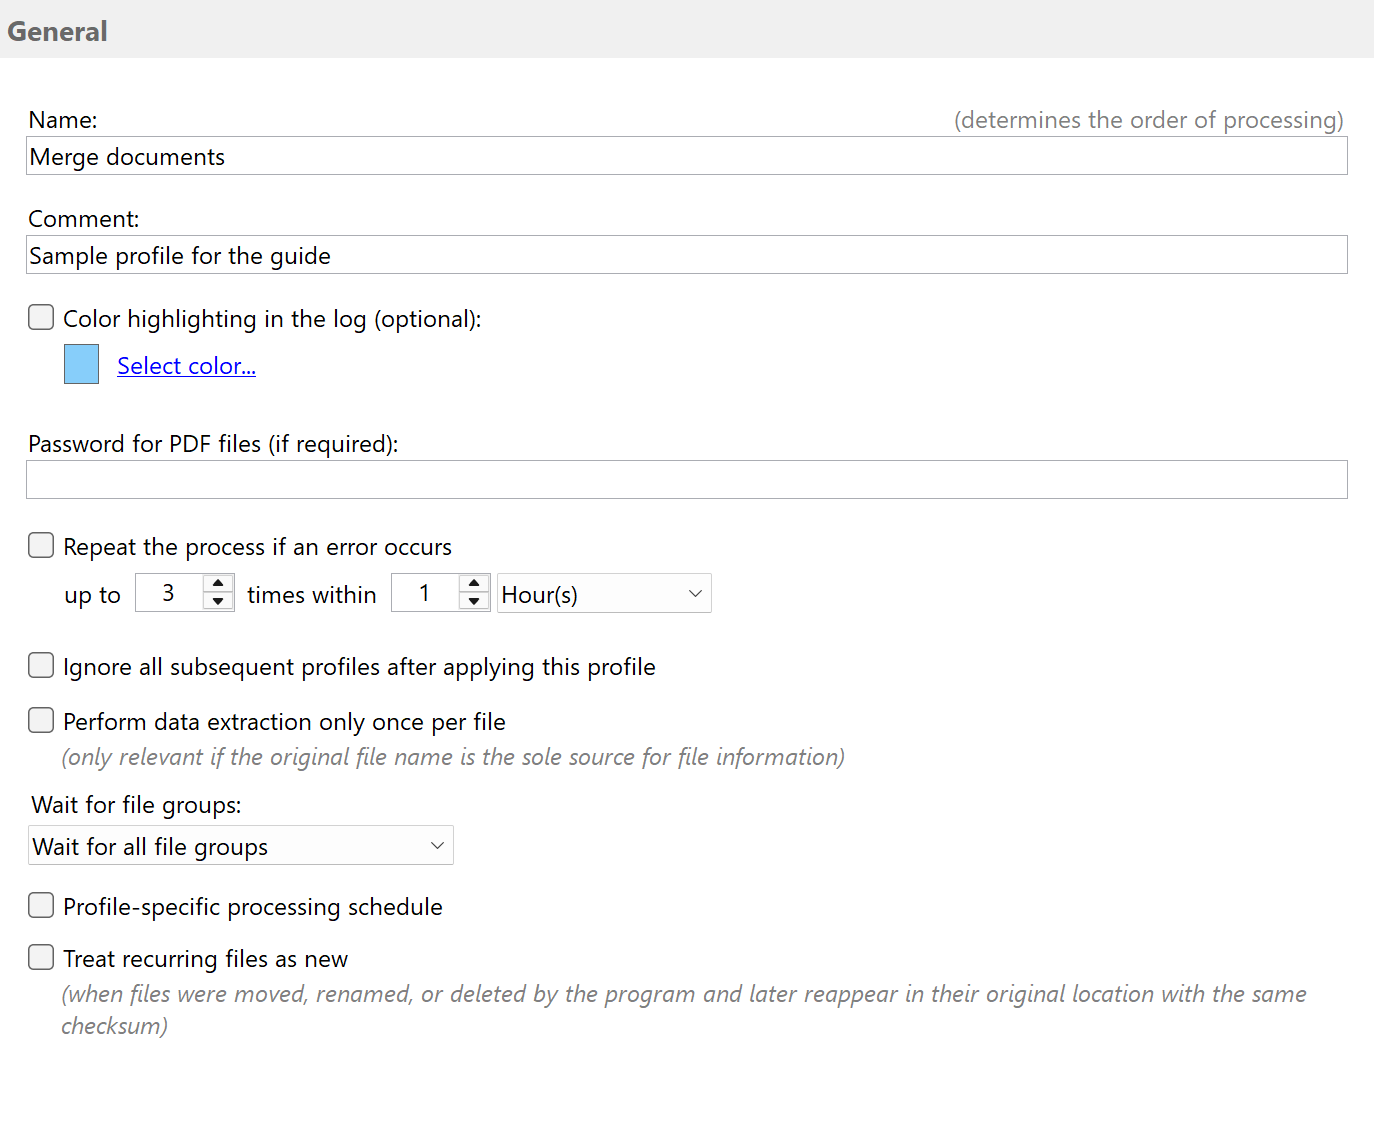
Create a new profile
First, click the "New profile..." button in the top toolbar. The program creates a new profile and opens it in the
configuration editor. There, you can give the profile a meaningful name (for example, Merge invoices and GTC) and optionally
add a comment, e.g., the target folder for filing. Comments are also listed in the profile list. If required, the password for
the PDF files can be entered in the input field below.
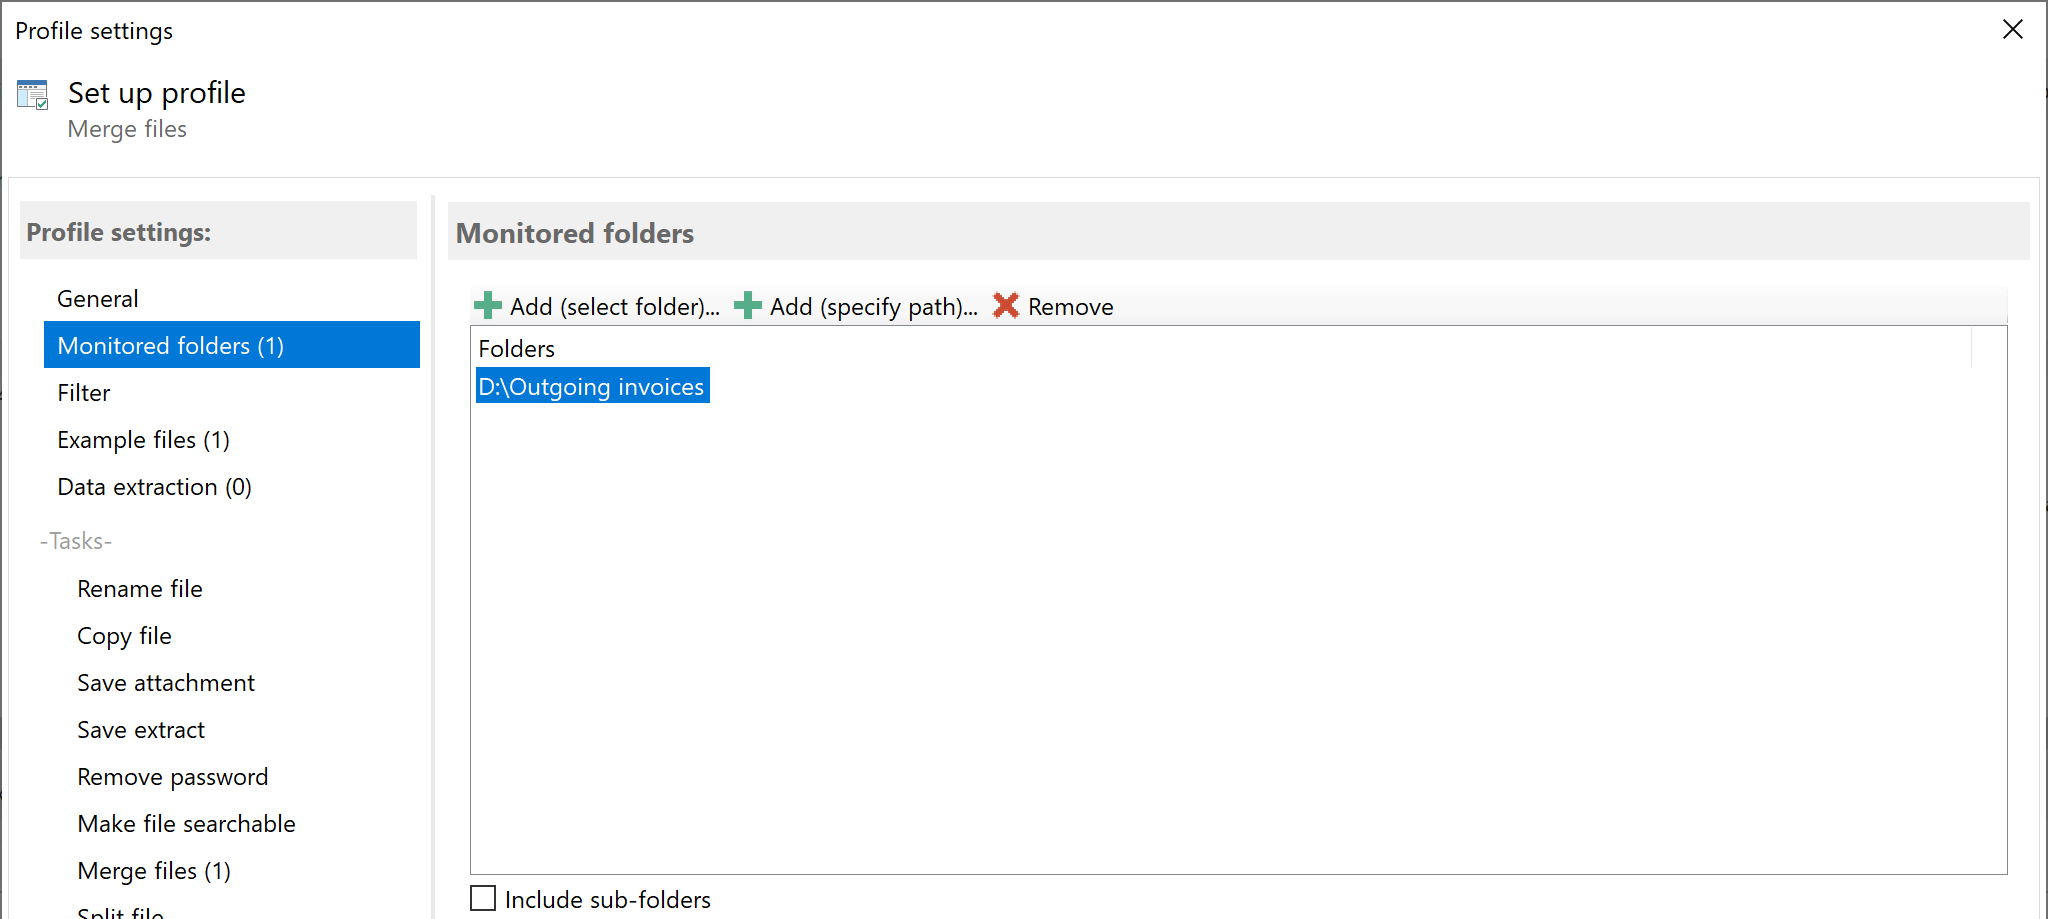
Select the folder to be monitored
Select a folder to be monitored, i.e., one or more folders in which the primary PDF files, such as invoices, are received. To
do this, click the "Add..." button and select one of the folders from the new dialog window.
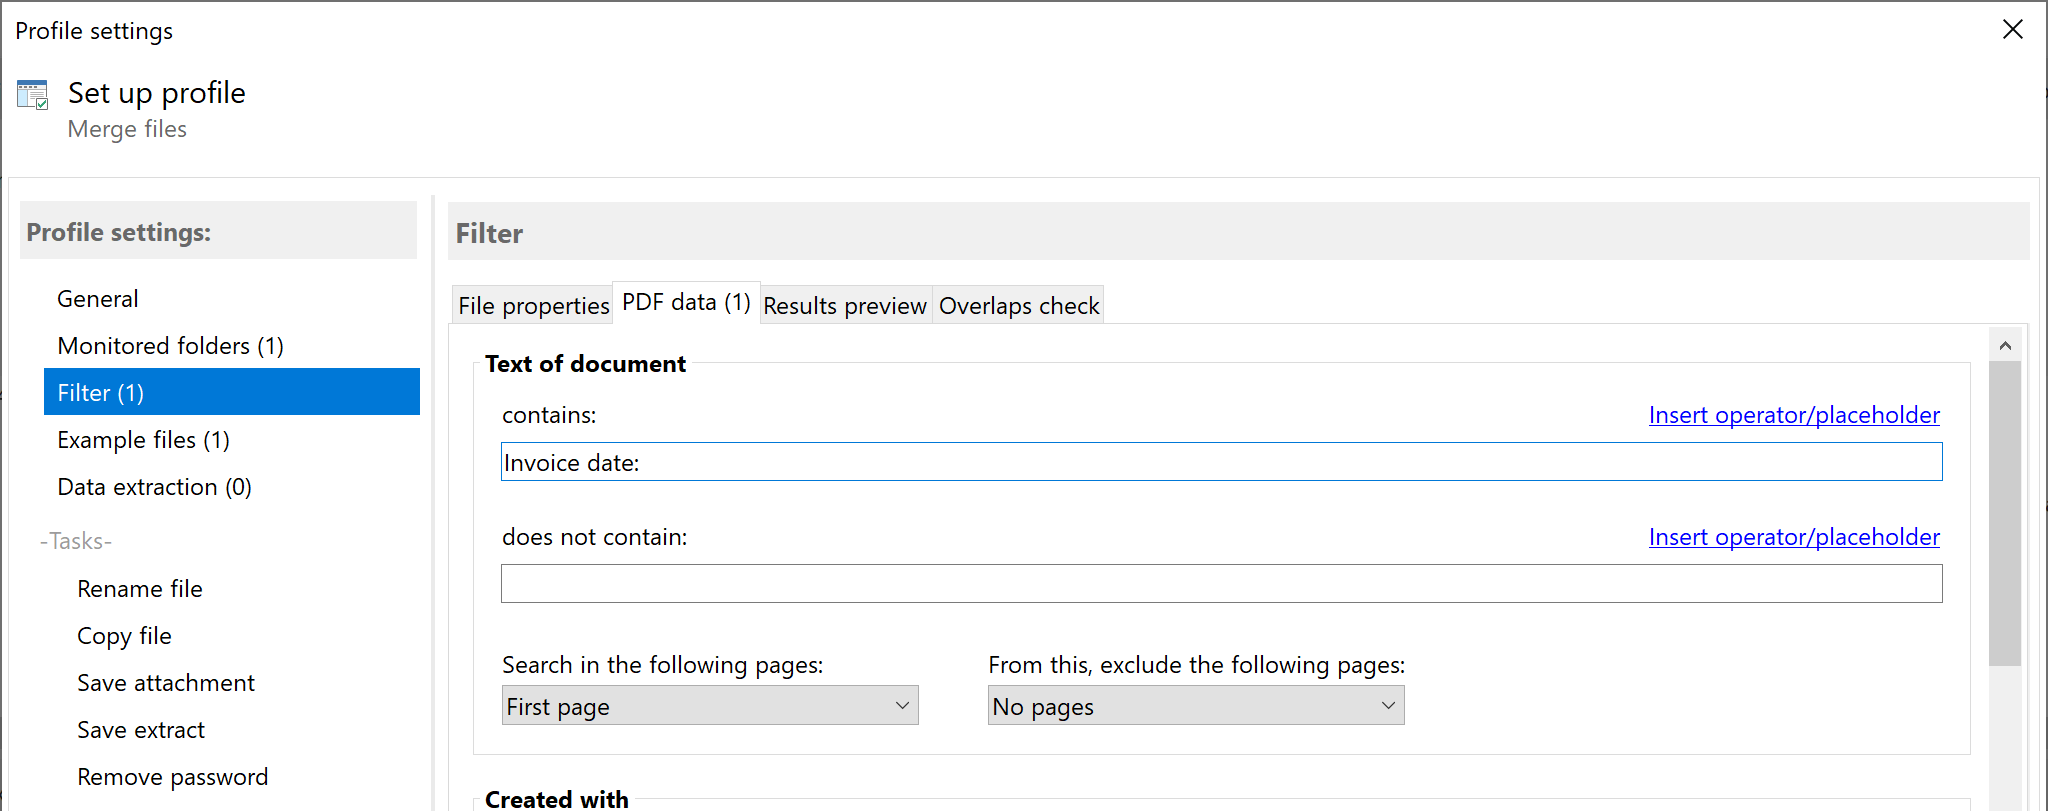
Set filters
Here, you can optionally define filter criteria to process only certain PDF files automatically or to identify the primary
document for merging. For example, a term from the document's text and part of the file name can be entered. It is also
possible to use a list that contains all customer names or numbers, for example. Filter terms can be combined with logical AND
and OR. The "Results Preview" tab shows whether the sample files added (in the next step) meet the filter criteria.
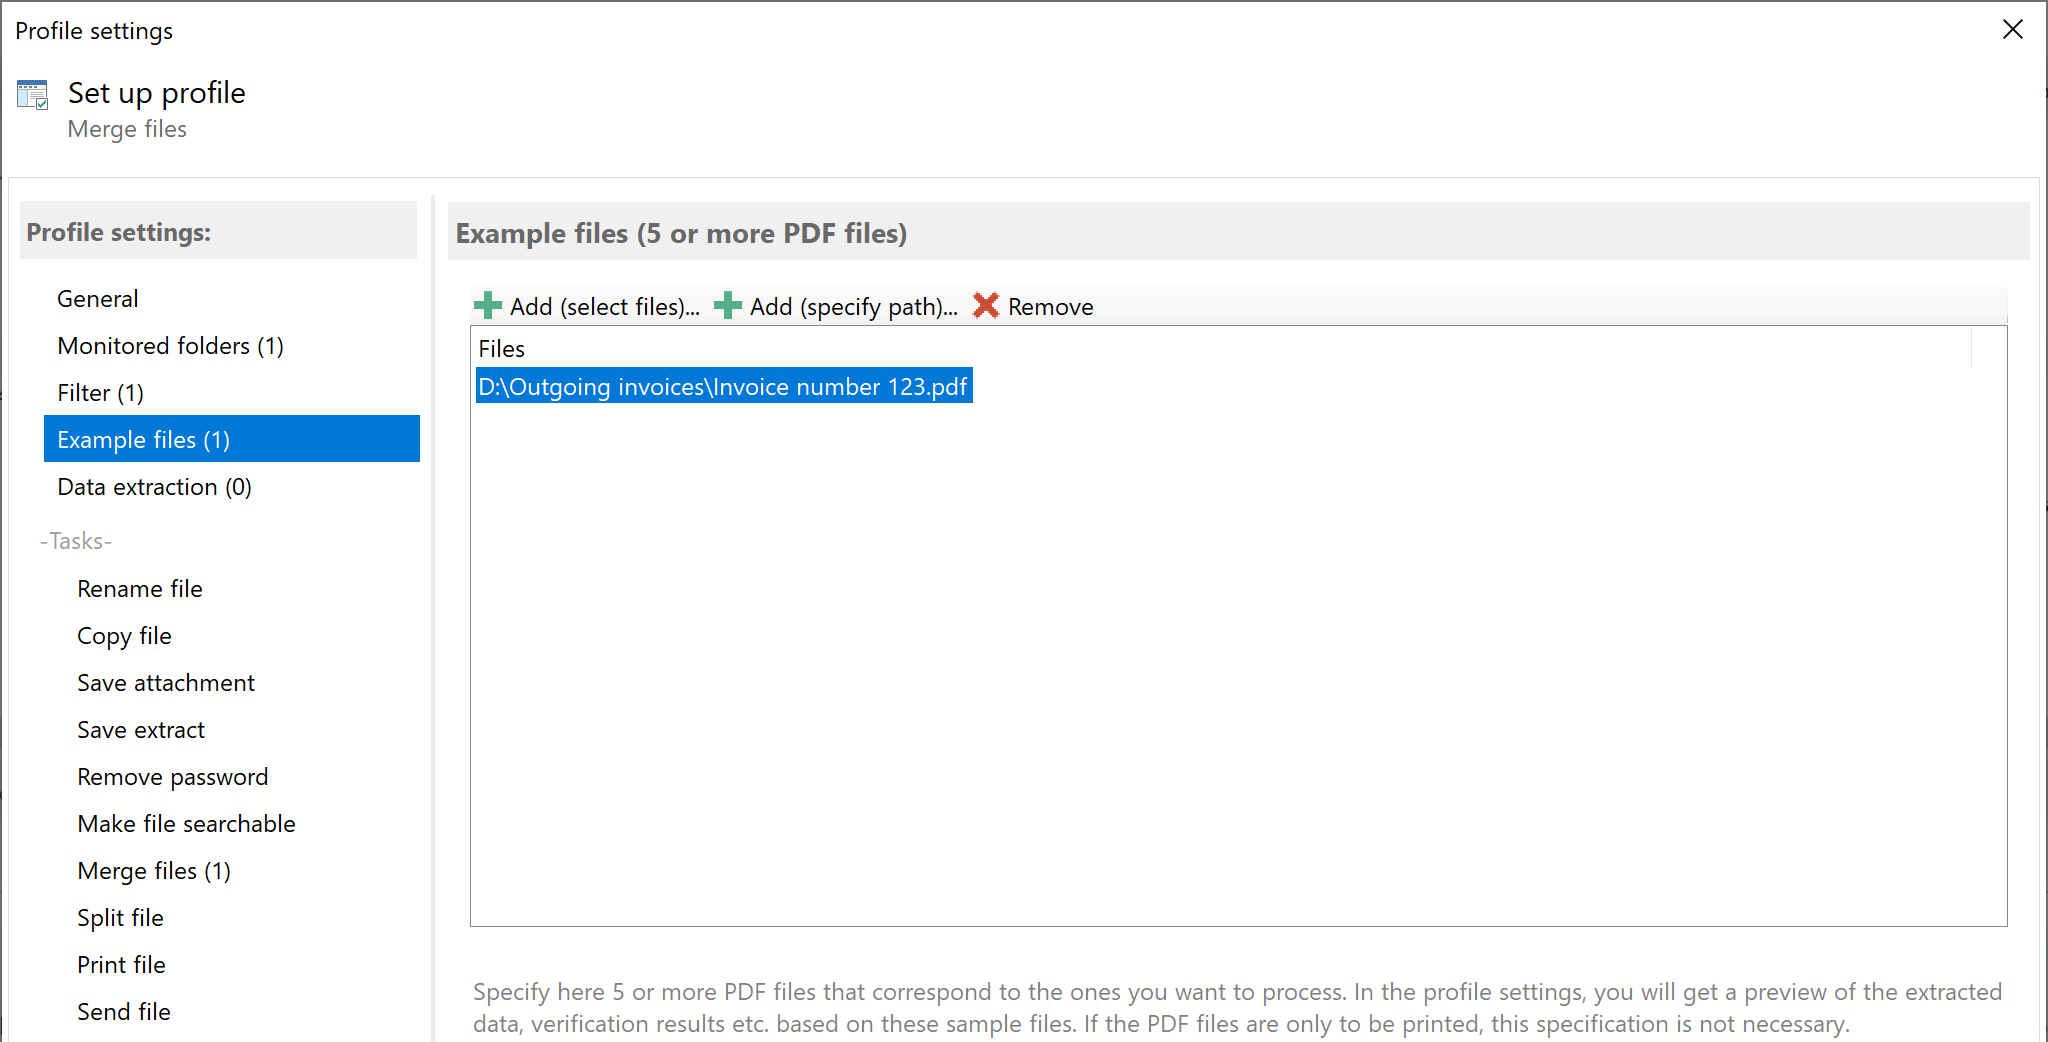
Add some example files
Enter five or more PDF files that correspond to the files to be processed here. In the profile settings, you will receive a
preview of the extracted data, verification results, etc., based on these sample files. It is best to select files that are
located in a separate directory and are not processed, in particular are not renamed or moved.
Merge PDF documents - variant 1 - attach an additional, always identical PDF file to each of the primary documents
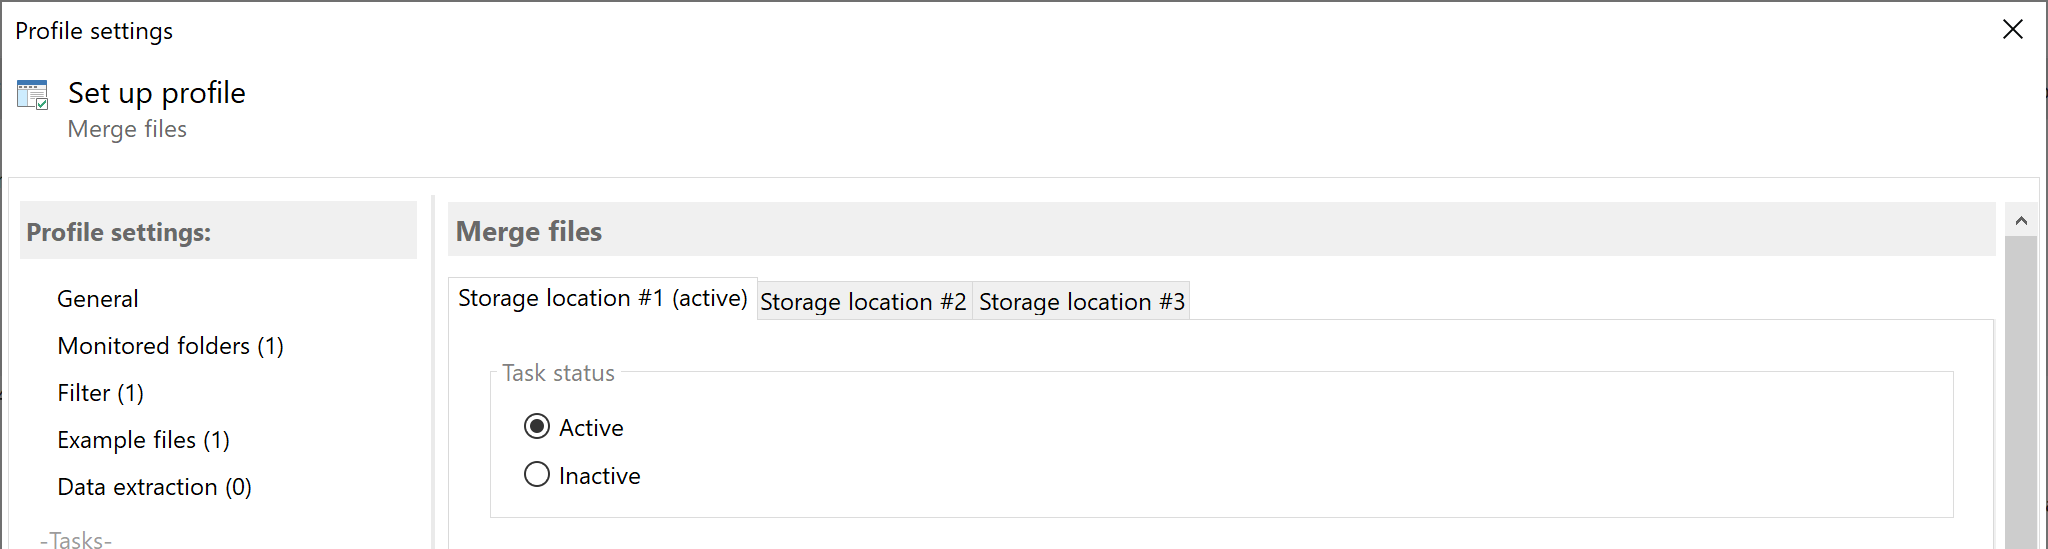
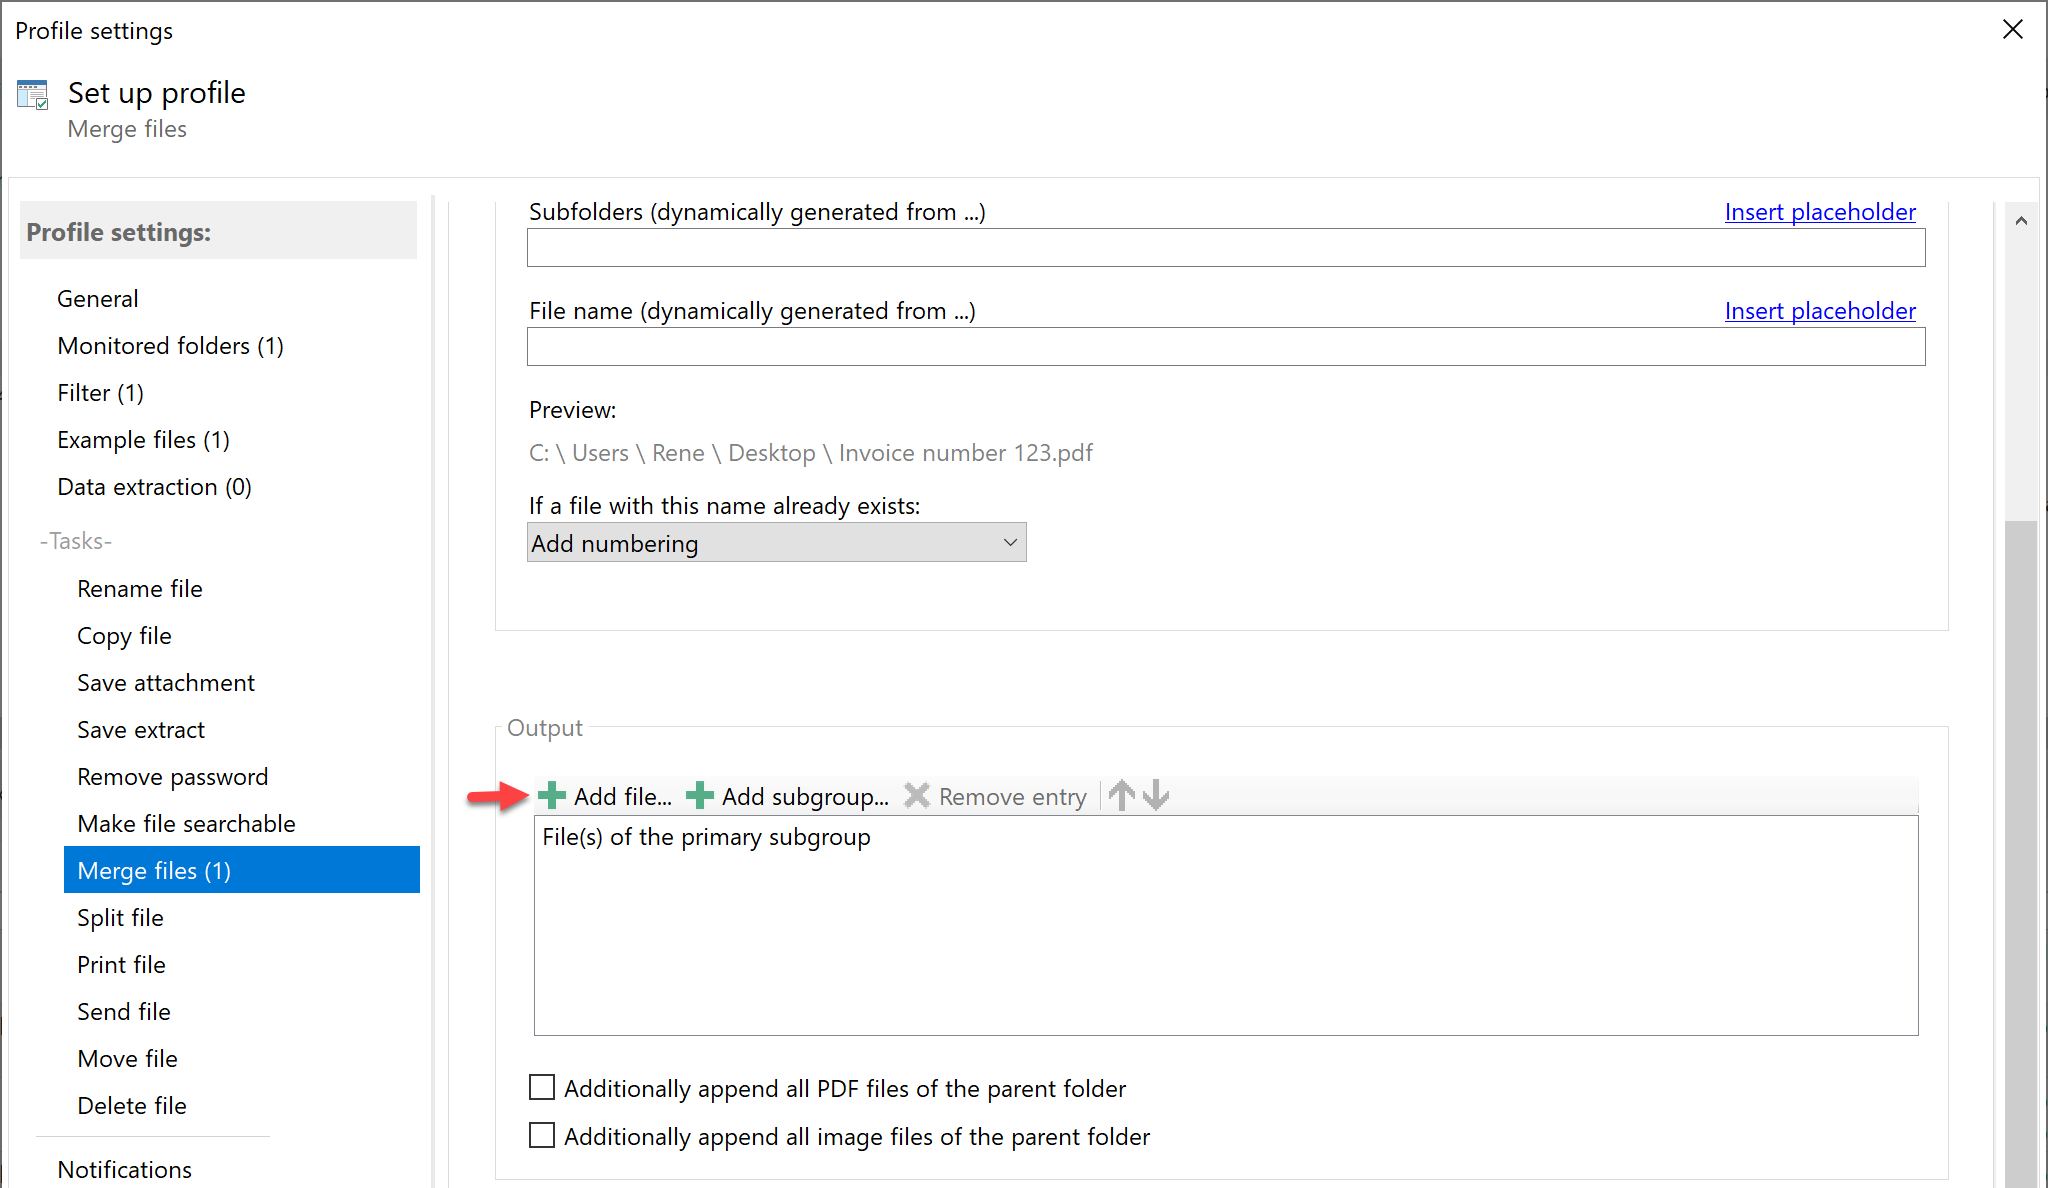
First, activate the task and specify the storage location for the completed document. Then, use the "Add file" button
to select one or more files to be attached to the main document. For example, this could be a PDF file with the terms and
conditions or a brochure.
Merge PDF documents - variant 2 - attach all PDF files from the same folder to each of the primary documents
This variant is used to merge all files in each parent folder. It is assumed here that a merchandise management
system or similar stores the invoice, delivery bill, general terms and conditions, and brochure in a new subfolder located in
the monitored folder.
Usually, the files of new folders and subfolders are indexed first, for example, to prevent all existing documents from being
printed after a folder has been added. For this reason, an entry must be added to the list of monitored folders (with immediate
processing in new subfolders) in the Options -> Category "Other" after the profile has been created.

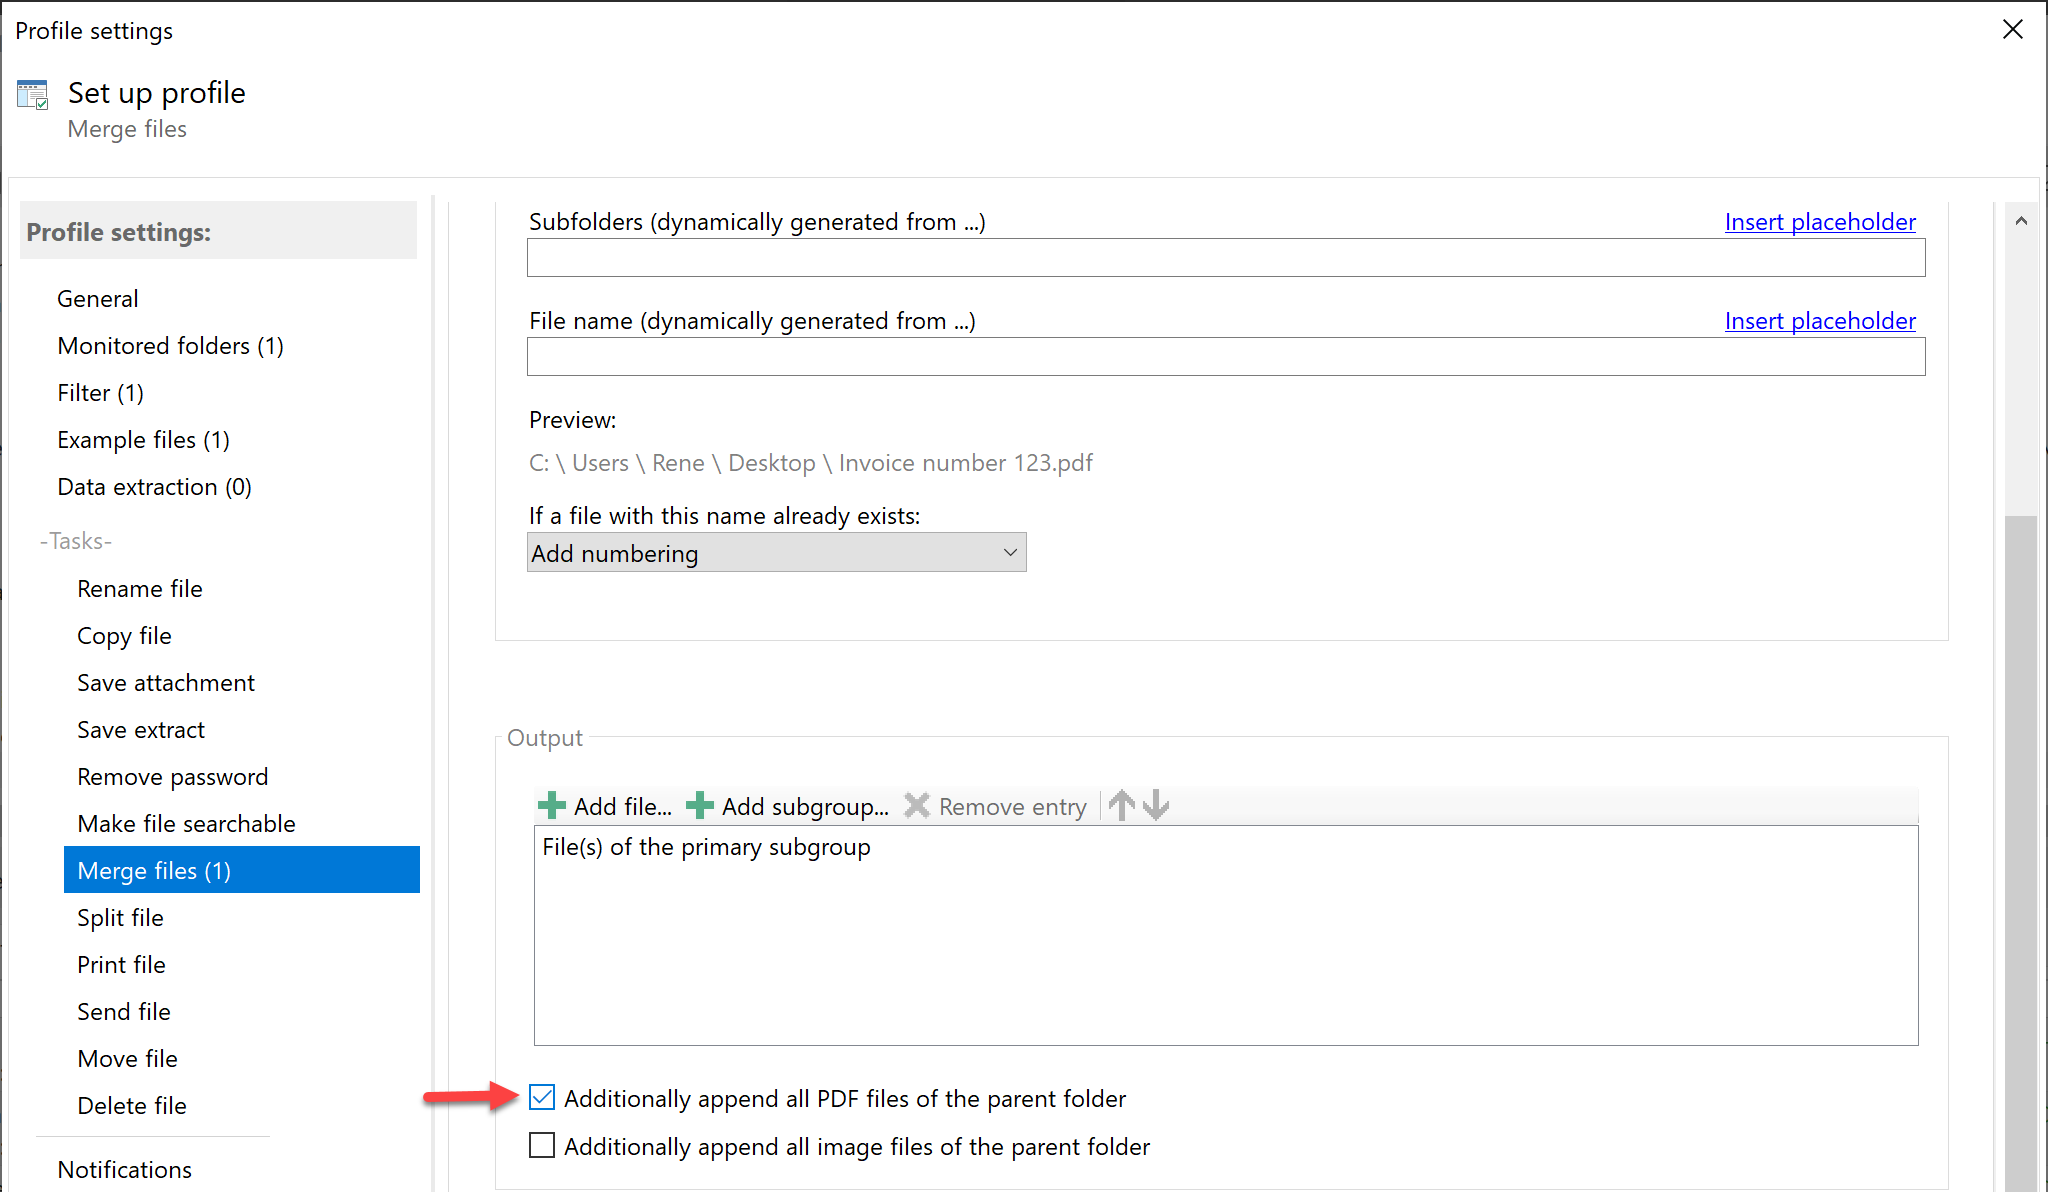
Activate the task and specify the storage location for the completed document. Then check the option "Additionally attach
all PDF files of the parent folder".
Merge PDF documents - variant 3 - merge similar primary documents (collective invoice, collective minutes, etc.)
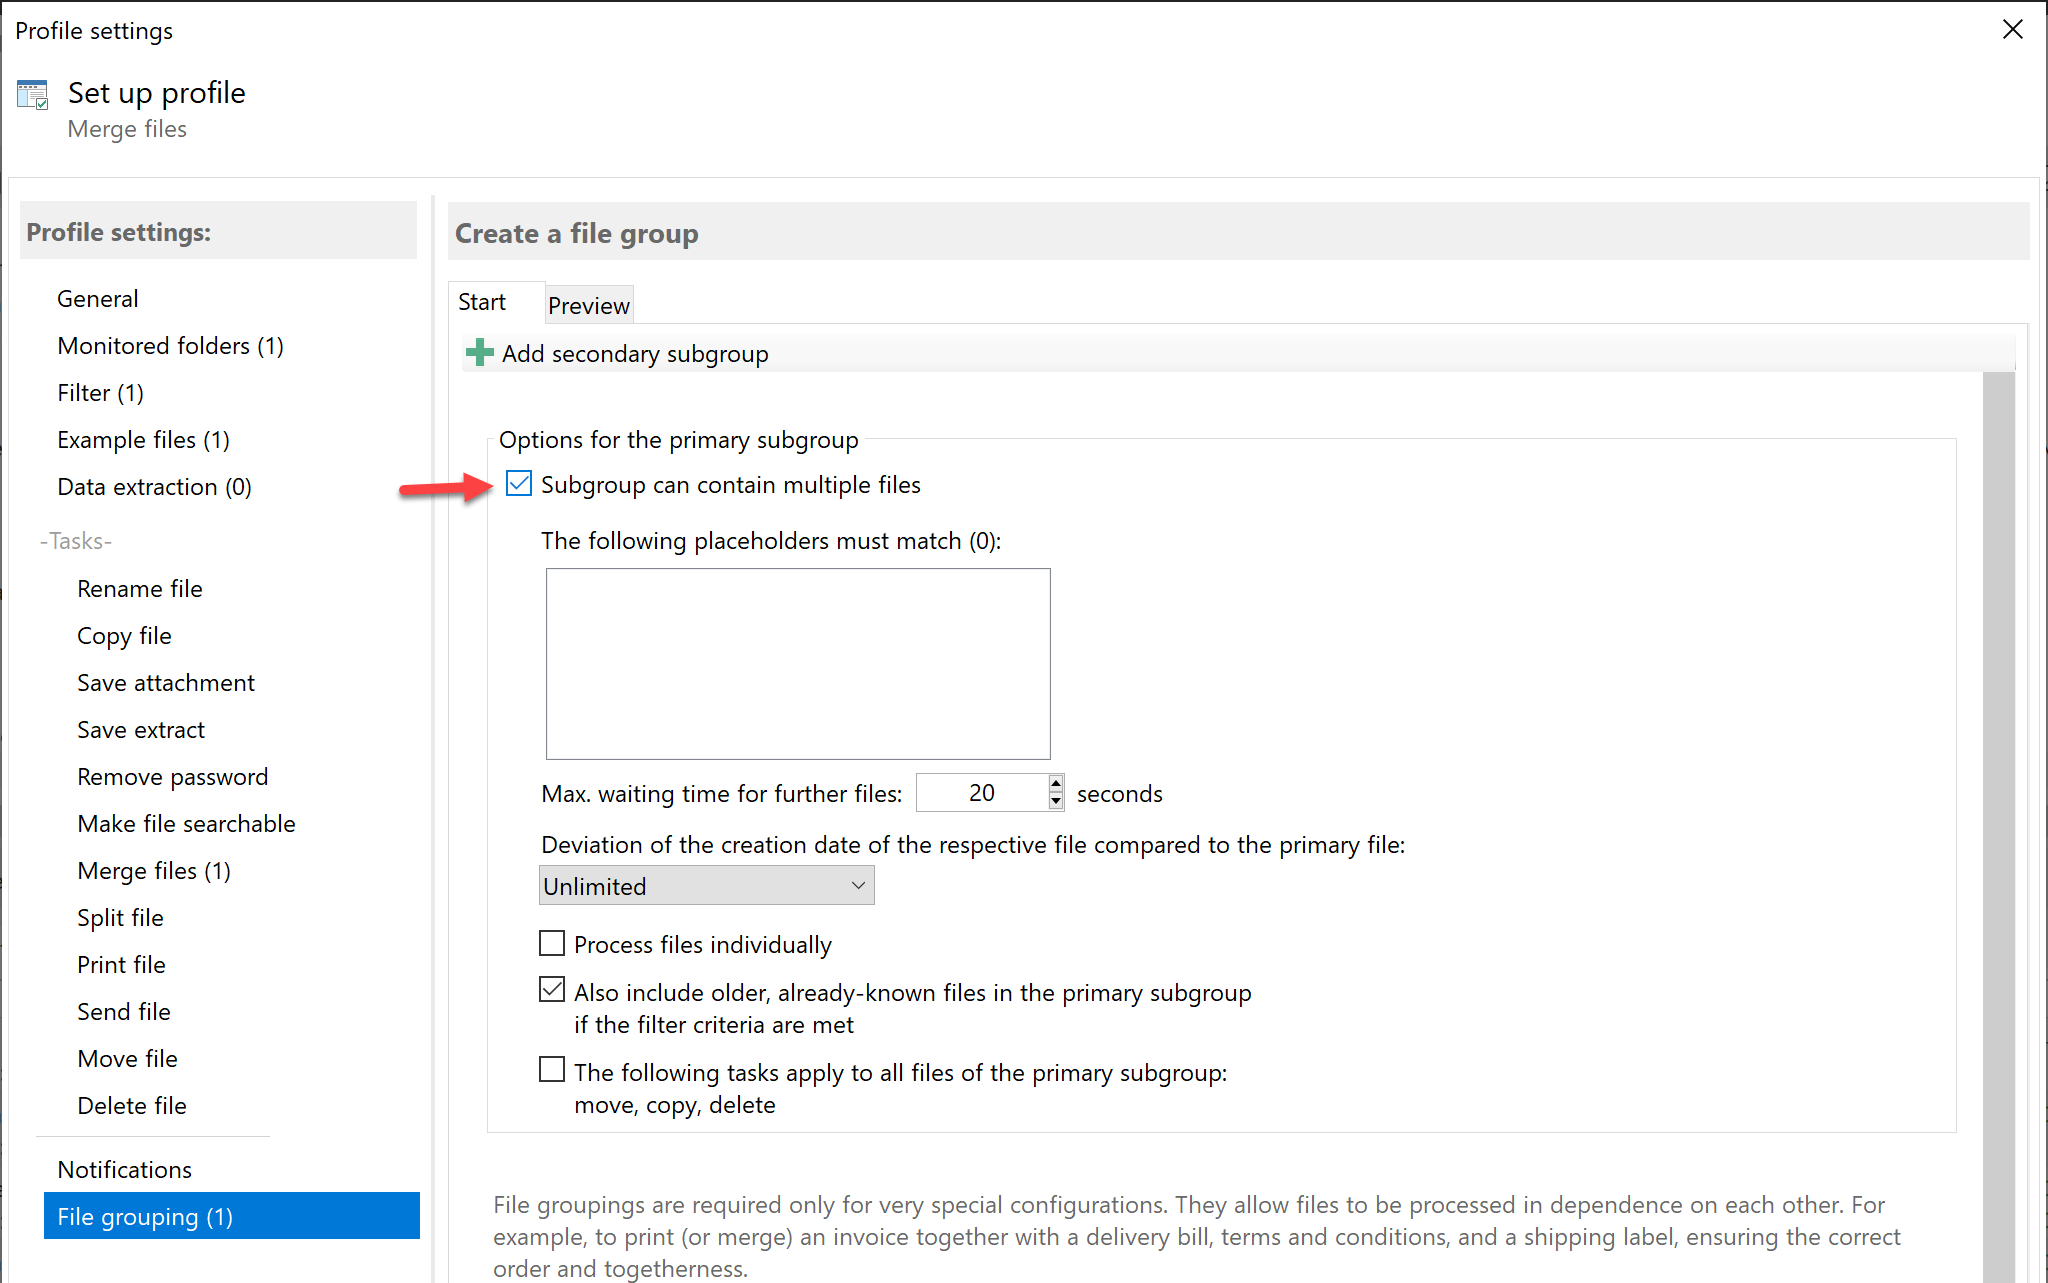
A file grouping is required for this variant. In the "File grouping" category, check the "Subgroup can contain
multiple files" box. If the files all contain the same characteristic, for example, the same customer number, a data
extraction rule is first required to provide the customer number in a placeholder that can be used here. Set the check mark for
the placeholder, and only those PDF documents will be merged for which the extraction of the customer number is possible and is
identical.
Activate the "Merge files" task and specify the storage location for the completed document.
Merge PDF documents - Variant 4 - Merge primary documents with the same characteristics (invoice, delivery bill, etc., based on
the invoice or customer number)
A file grouping is also required for this variant. If the invoice or customer number can be extracted using the same rule,
variant 3 can be used.
Otherwise, if different rules are required for extracting the feature, a secondary file group is needed. Also, make sure that a
filter is set to process only the primary document, e.g., "Text of document -> contains: Invoice no." or "
Text of the document -> does not contain: Delivery bill".
First, create the rule for extracting the invoice or customer number from the primary document in the "Data extraction"
category. Name this "InvNo", for example.
Switch to the "File grouping" category. Nothing needs to be changed in the settings for the primary subgroup - leave
the default values. "Subgroup can contain multiple files" must not be ticked.
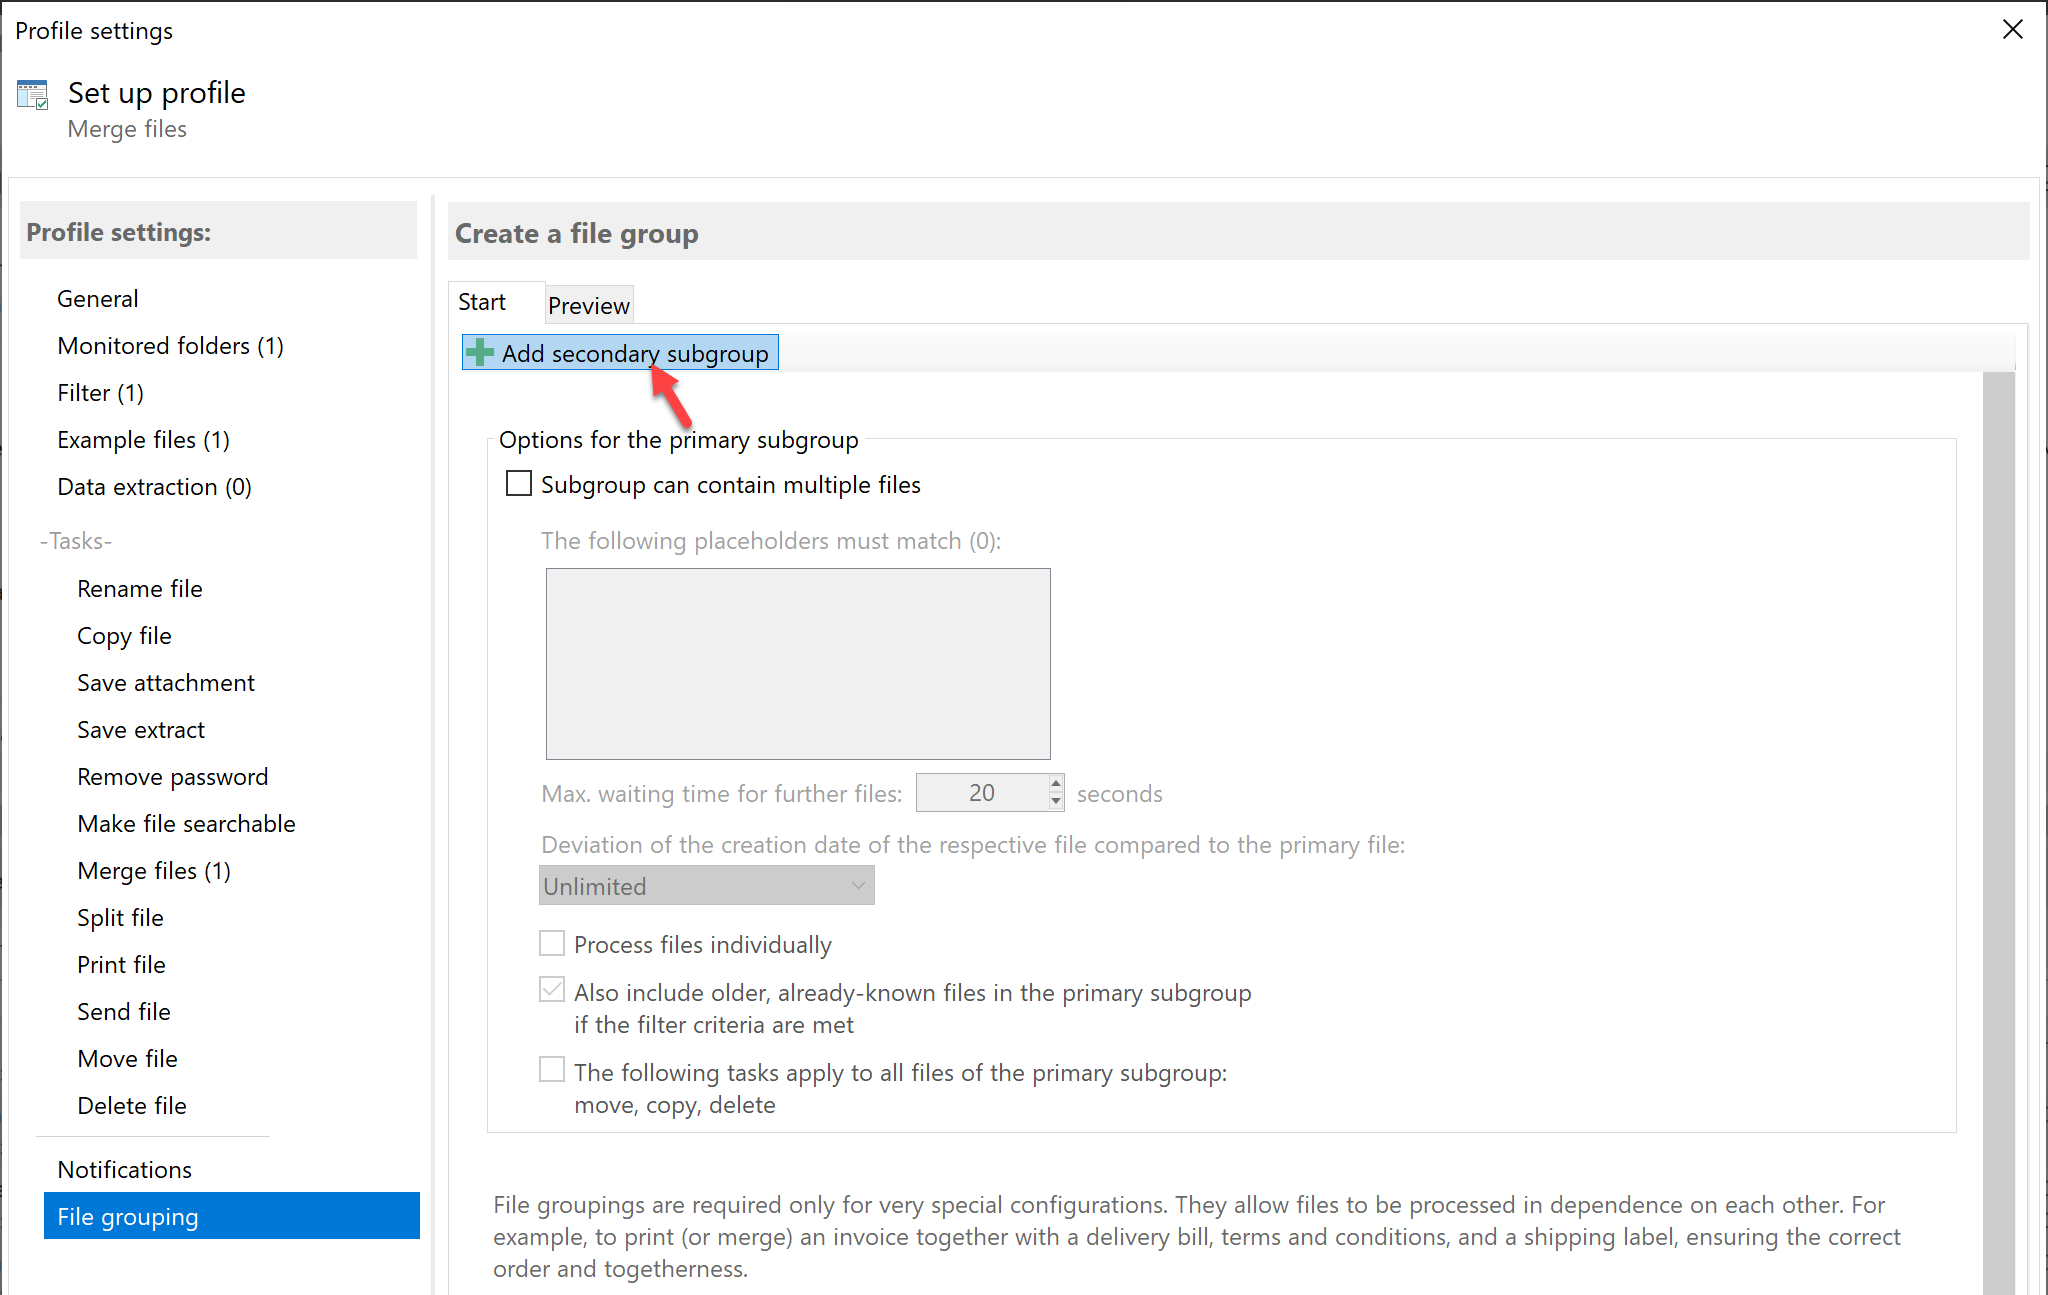
A secondary subgroup is required for the delivery bill. To do this, click on "Add secondary subgroup". The profile is
first configured on the new tab. Click on "Edit new secondary profile" in the upper area. An additional profile
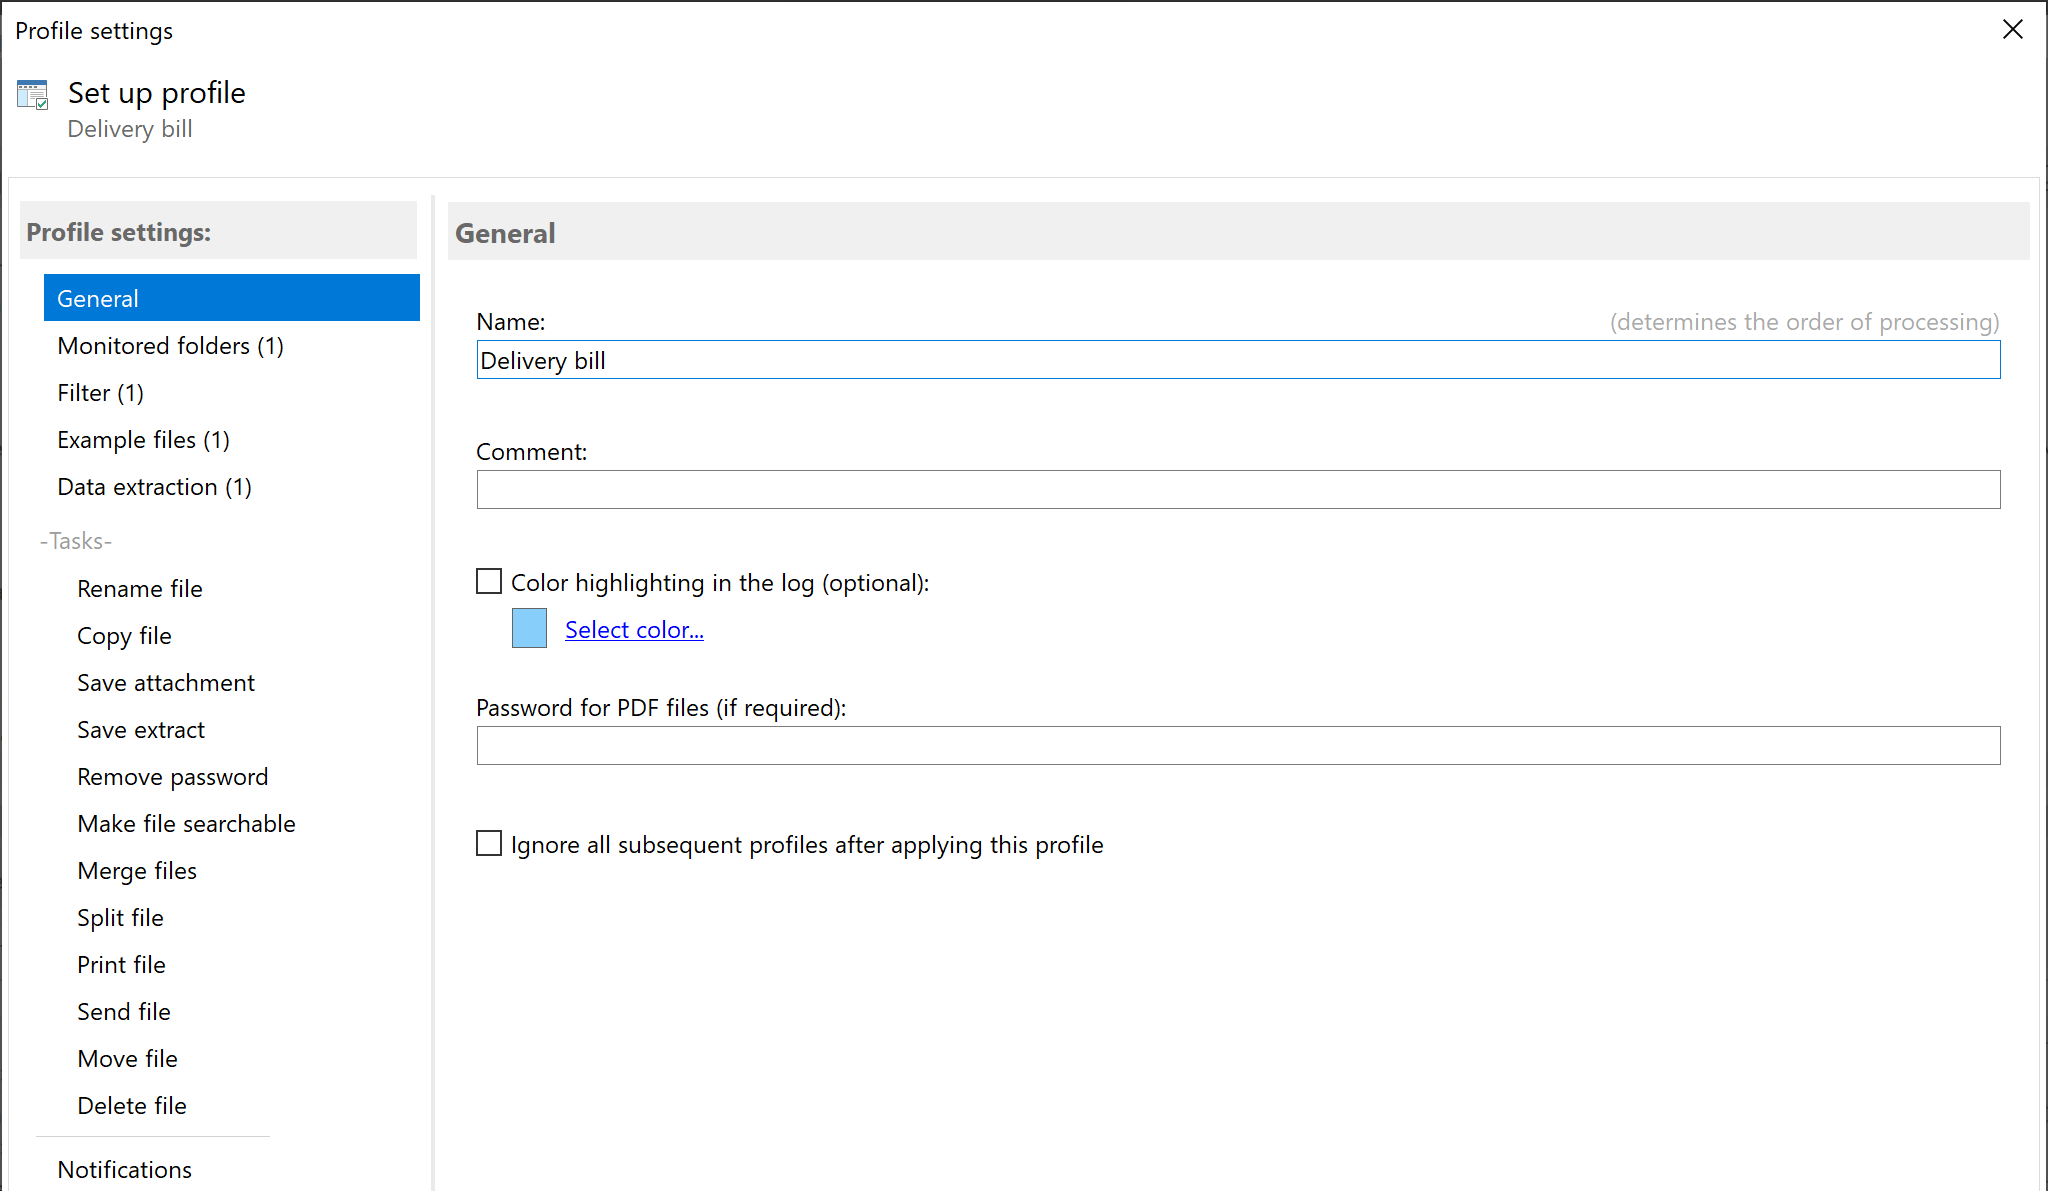
editor opens. Enter "Delivery bill" as the name and add an entry in the filter "File name -> contains ->
delivery bill". The monitored folder must also be set in this profile, and some sample delivery bills should again be
added as sample files. The sample delivery bills should match the sample invoices. The contained invoice number is saved in the
placeholder "InvNo" via a data extraction rule.
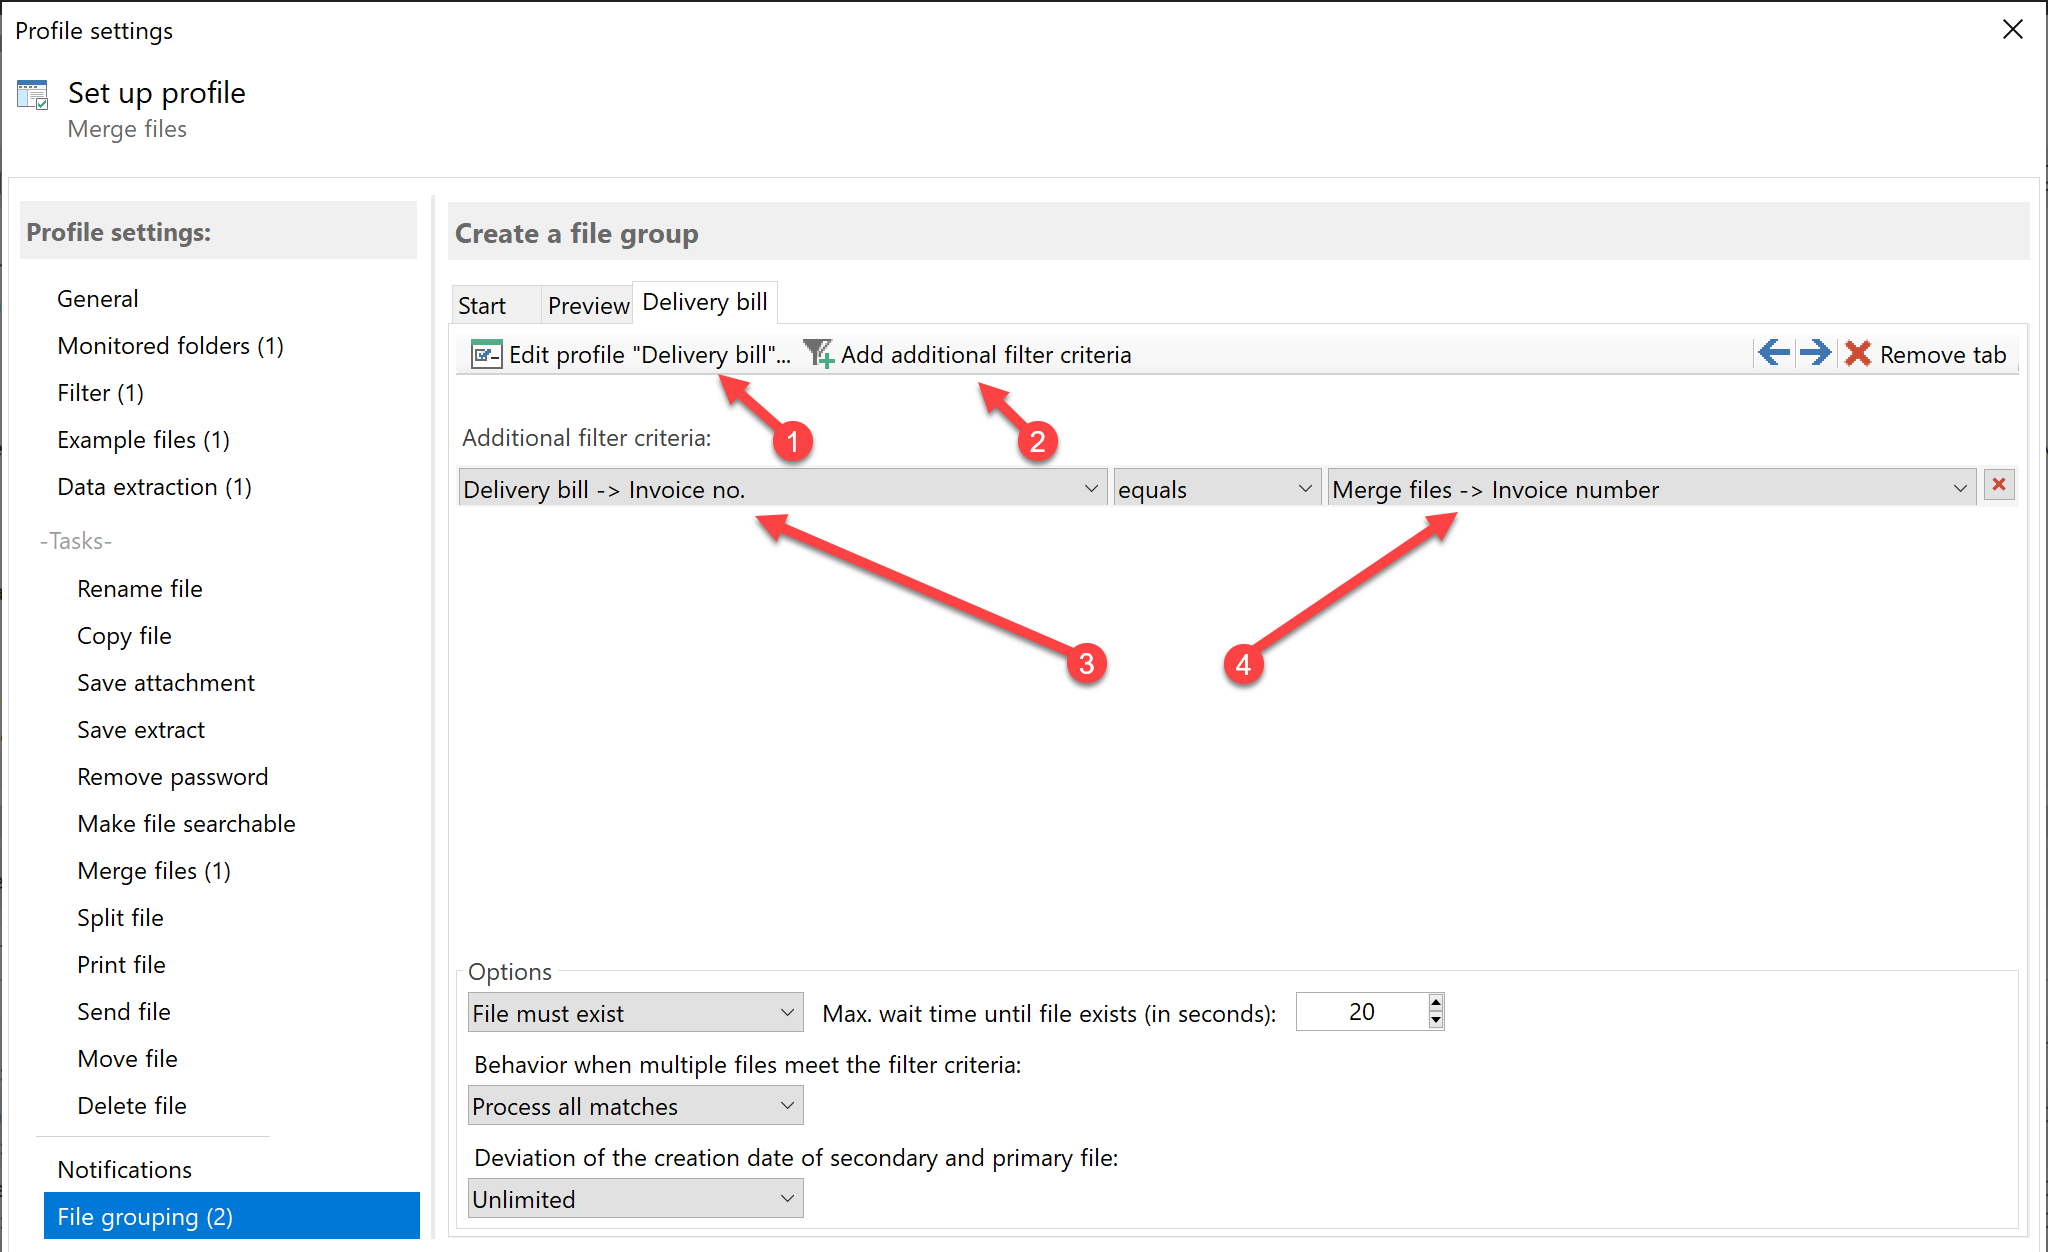
The secondary profile is now configured and can be closed by clicking "OK". Finally, another filter criterion must be
added: " Delivery bill -> InvNo corresponds to: Name of main profile -> InvNo". In the "Preview" tab,
the result can be checked using the sample files that have been added.
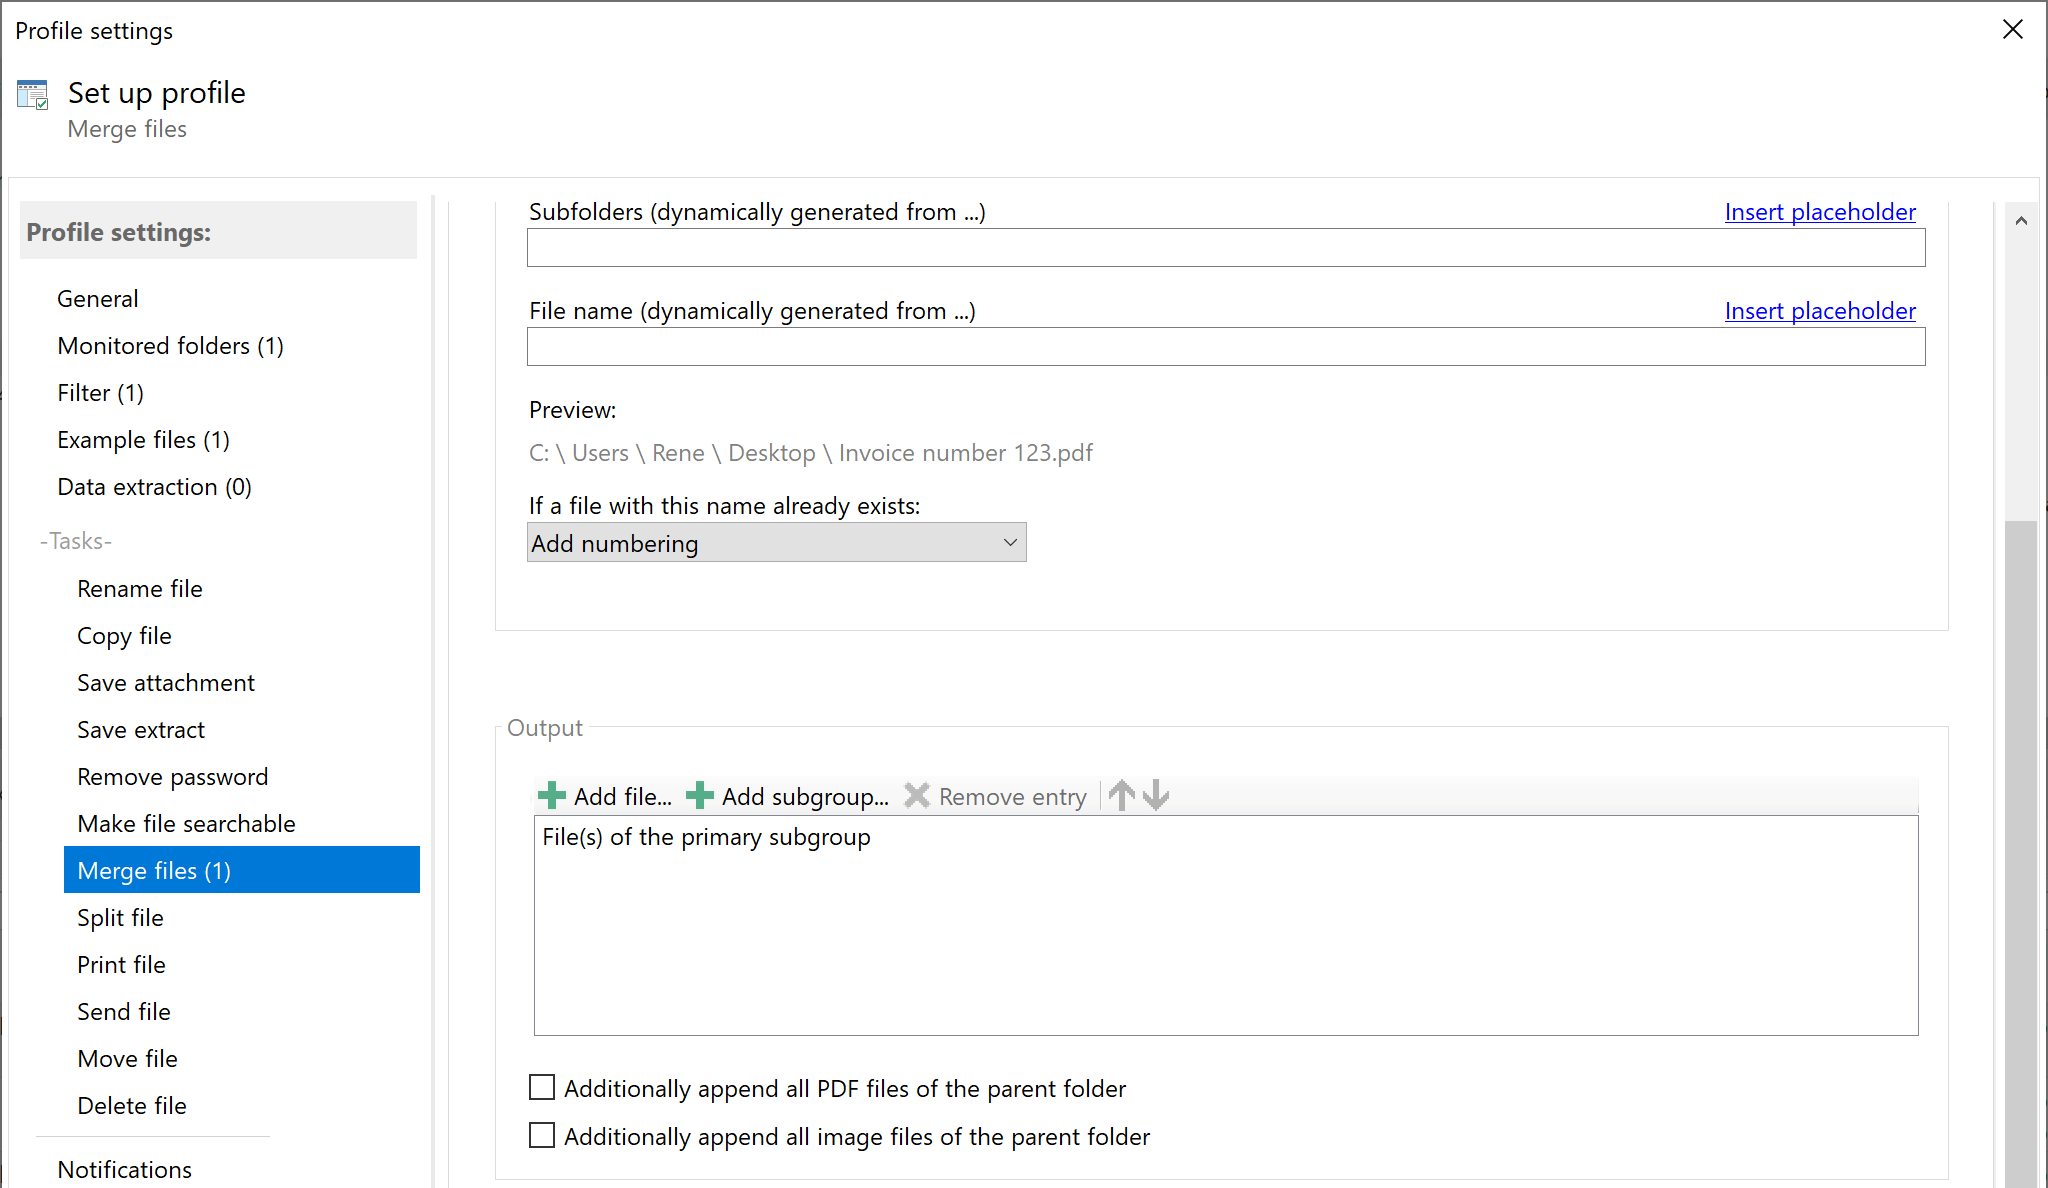
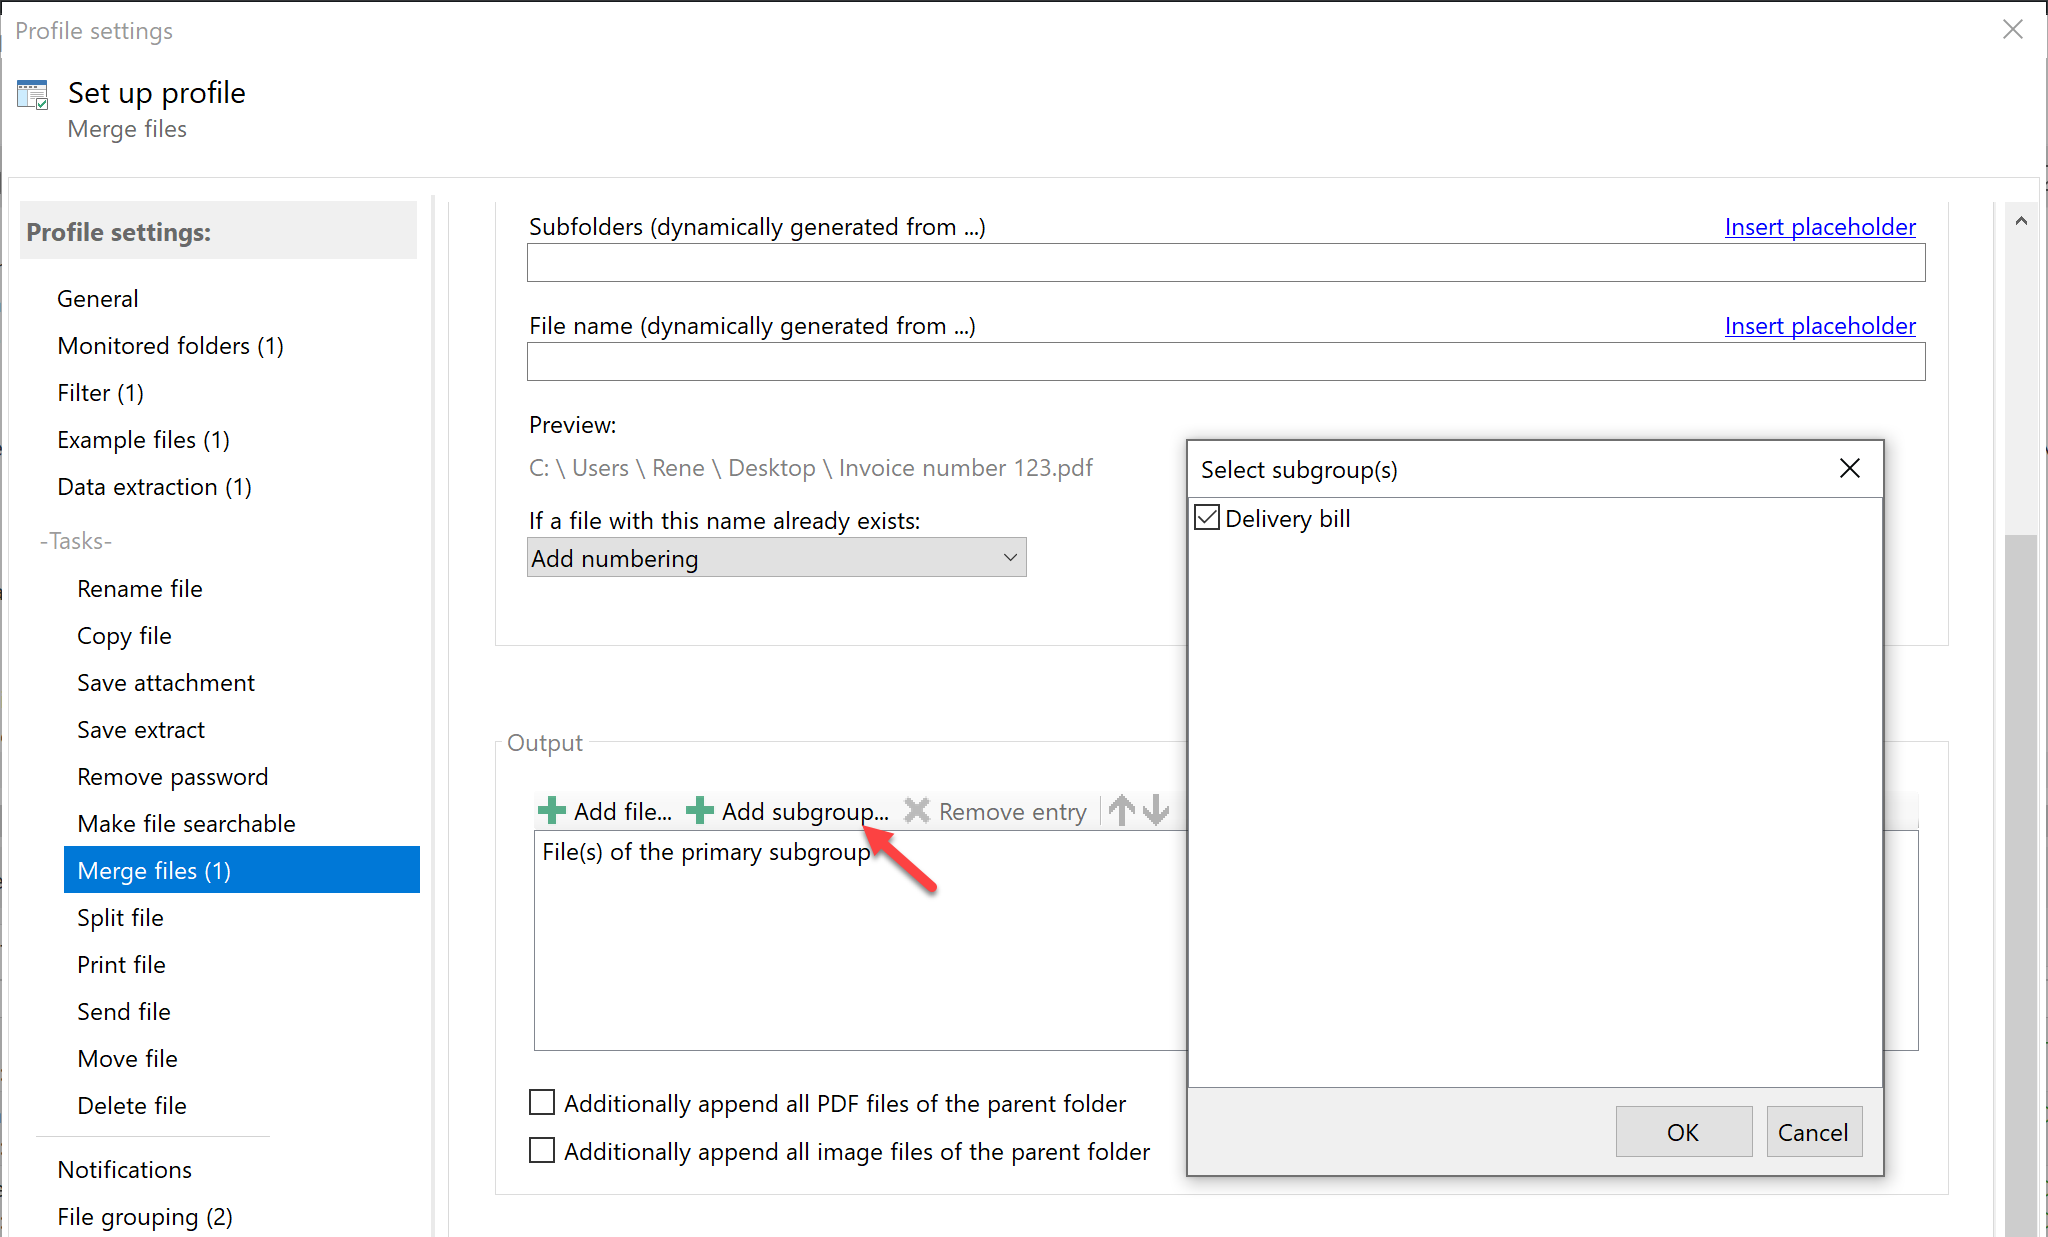
Finally, activate the "Merge files" task and specify the storage location for the completed document. Then select the
"Delivery bill" subgroup using the "Add subgroup" button.
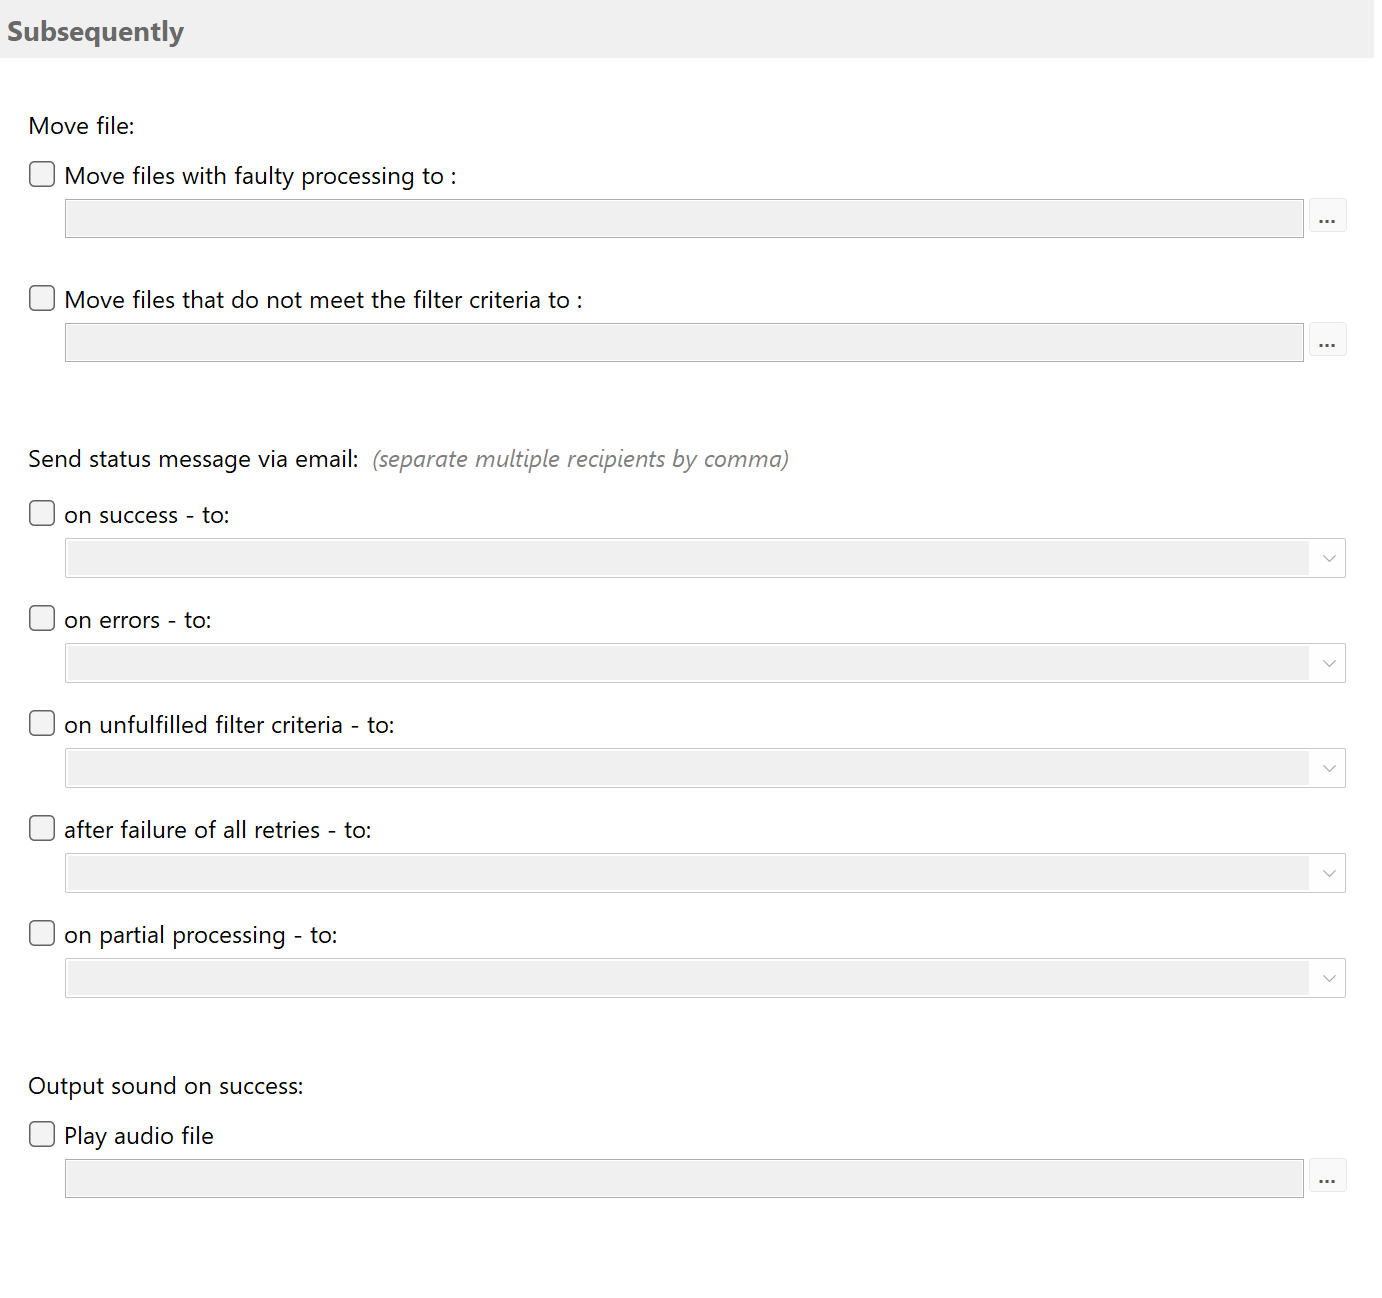
Status notifications
Next, you can optionally specify whether status messages for processing each PDF file should be sent to a specific
email address. Either the standard Outlook email account or an email account with user-defined properties can be used to send
the email. Once the PDF document has been successfully merged, any sound file can be played.