Step-by-step instructions for automated PDF file compression
Large PDF files, especially scanned documents, can be several megabytes in size.
This makes email sending difficult and consumes unnecessary storage space.
With Automatic PDF Processor, you can automatically compress PDF files to an optimal size.
Video tutorial: Automatically compress PDF files (with narration and optional subtitles)
Typical use cases
- Compression of scanned documents for email sending
- Optimization of PDF portfolios for web publishing
- Reduction of storage requirements in archives
- Preparation of documents for upload limits
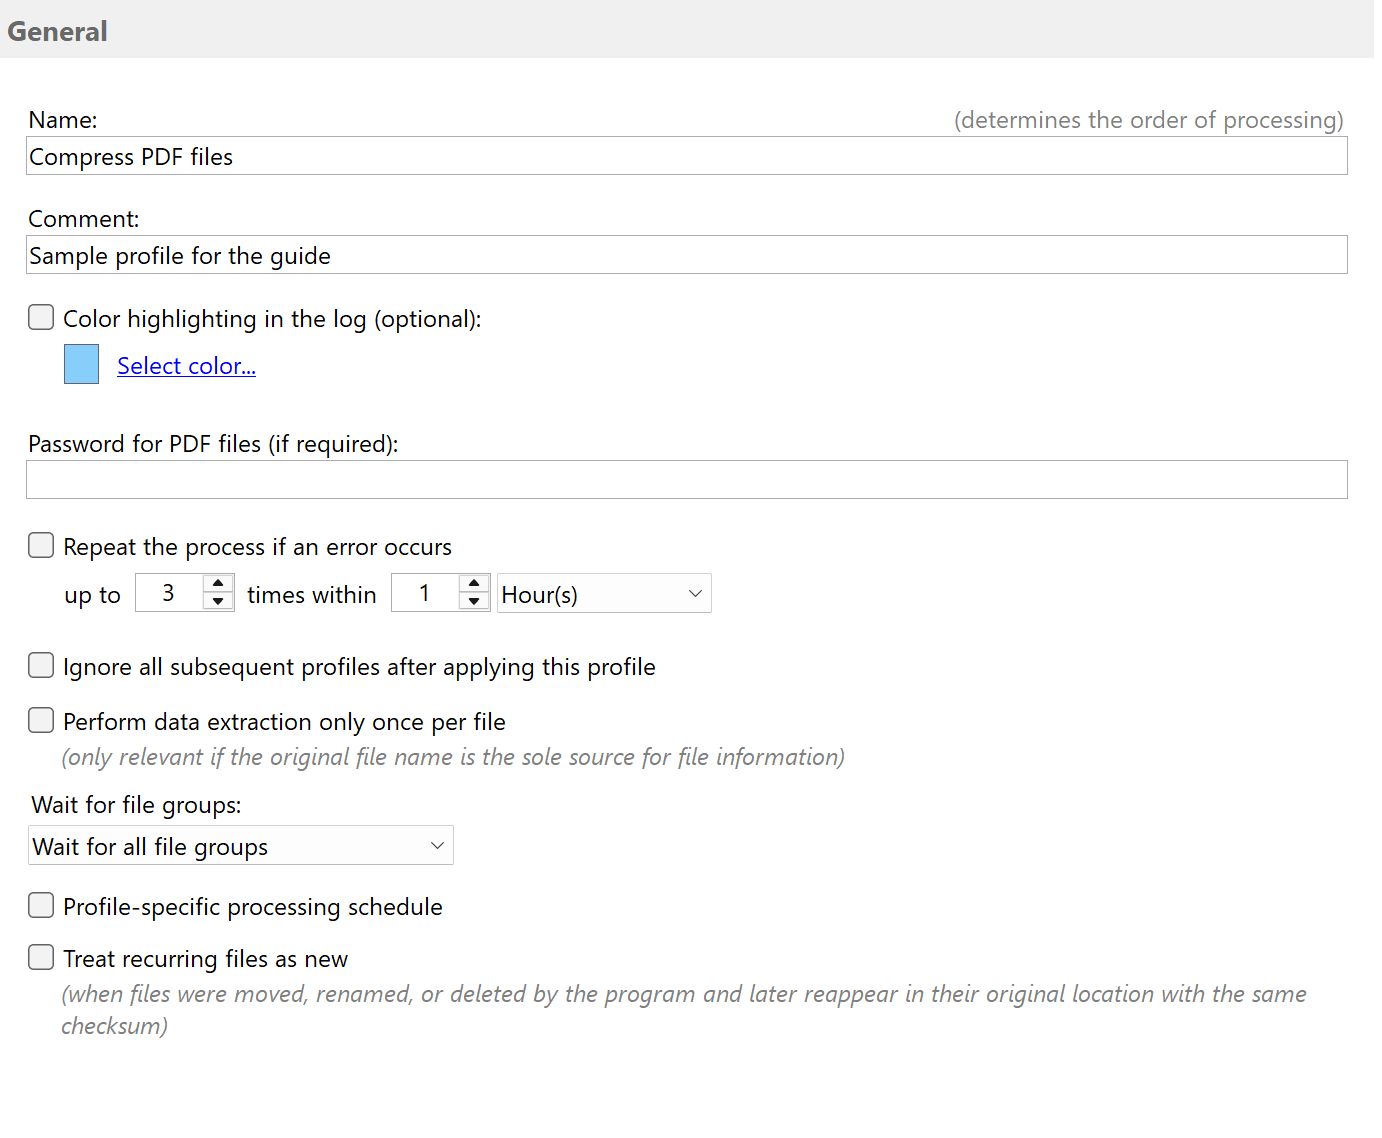
Step 1: Create a new profile
Create a new profile and give it a descriptive name such as "Compress PDF files".
Set up the monitored folder.
Step 2: Activate the "Compress PDF" task
Go to the task view and select the "Compress PDF" task.
Activate the task and configure the compression settings.
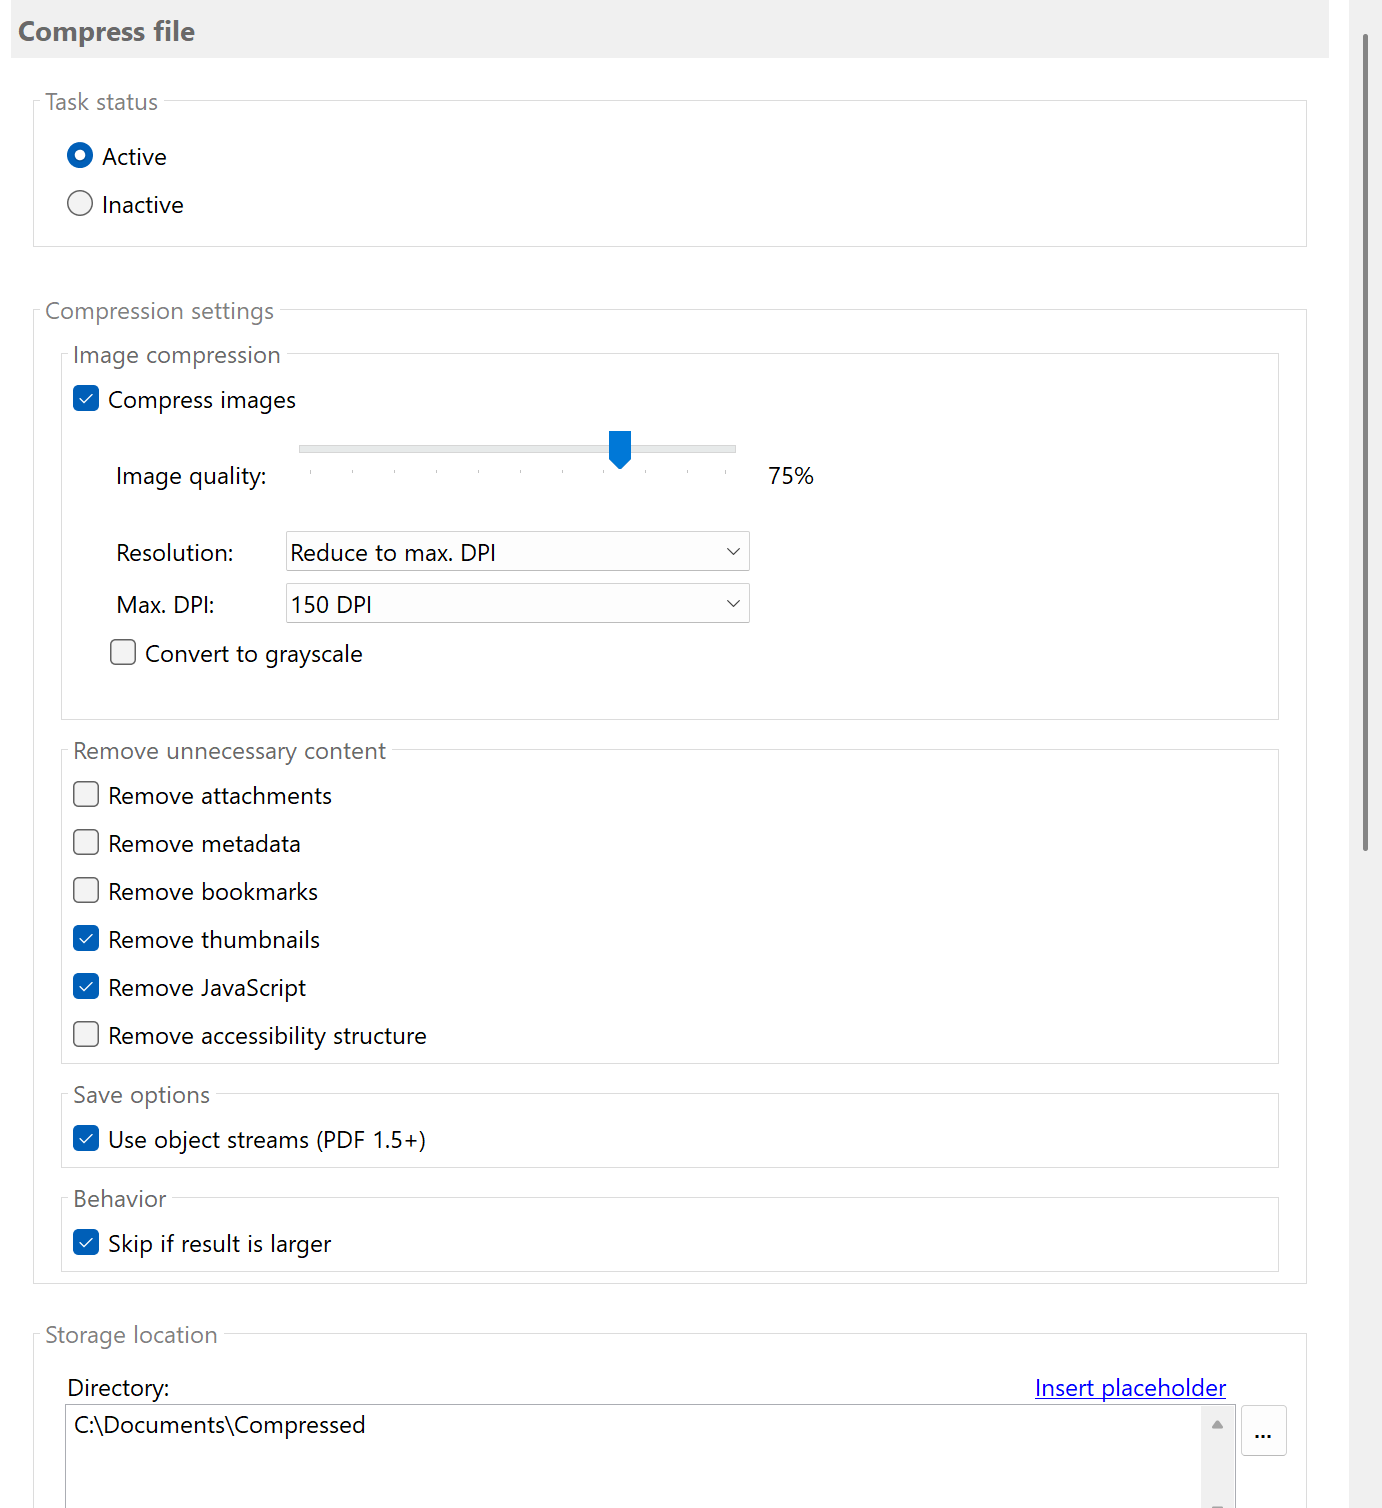
Step 3: Configure image compression
Image compression is the most important factor for file size.
Configure the following options:
Image quality (JPEG compression)
Set the image quality (1-100). A lower value means stronger
compression but lower quality:
| Quality |
Recommended for |
File size |
| 80-100 |
High-quality print templates |
Slightly reduced |
| 60-80 |
General documents |
Moderately reduced |
| 40-60 |
Email sending, web |
Significantly reduced |
| 20-40 |
Thumbnails |
Very strongly reduced |
Resolution reduction
Reduce the DPI (dots per inch) of images. Typical settings:
- 300 DPI: Print quality
- 150 DPI: Good screen quality
- 96 DPI: Web-optimized
- 72 DPI: Minimum for screen display
Grayscale conversion
Enable "Convert to grayscale" when color information is not needed.
This can significantly reduce file size.
Step 4: Remove optional content
In addition to image compression, you can remove unnecessary elements:
- Remove metadata: Author, creation date, etc.
- Remove attachments: Embedded files
- Remove bookmarks: Navigation structure
- Remove thumbnails: Page previews
- Remove JavaScript: Interactive elements
- Remove logical structure: Accessibility tags
Note: Choose these options carefully. Some elements may be
important for certain use cases.
Step 5: Skip if result is larger
Enable the "Skip if result is larger" option.
In some cases (e.g., already optimized PDFs), compression can lead to
a larger file. With this option, the original file is kept.
Step 6: Set destination
Specify where the compressed files should be saved:
- Overwrite original file: Same path, same name
- Separate folder: e.g., "D:\Compressed\"
- Add suffix: e.g., "<FileName>_compressed"
Result
After configuration, all PDF files placed in the monitored folder are automatically:
- Analyzed and checked for optimization potential
- Images compressed according to settings
- Optional elements removed
- Saved as compressed version
The achieved compression is displayed in the log (e.g., "64.4% savings").