Step-by-step instructions for automated barcode insertion
Barcodes and QR codes enable fast identification and assignment of documents
in archiving and document management systems. With Automatic PDF Processor,
you can automatically insert barcodes into PDF files.
Video tutorial: Automatically insert barcodes into PDF files (with narration and optional subtitles)
Typical use cases
- Document ID as barcode for archiving
- QR code with link to digital version
- Invoice number as Code128 for ERP system
- DataMatrix code for product identification
- Tracking codes for document tracking
Step 1: Create a new profile
Create a new profile and give it a descriptive name such as "Add barcode".
Set up the monitored folder.
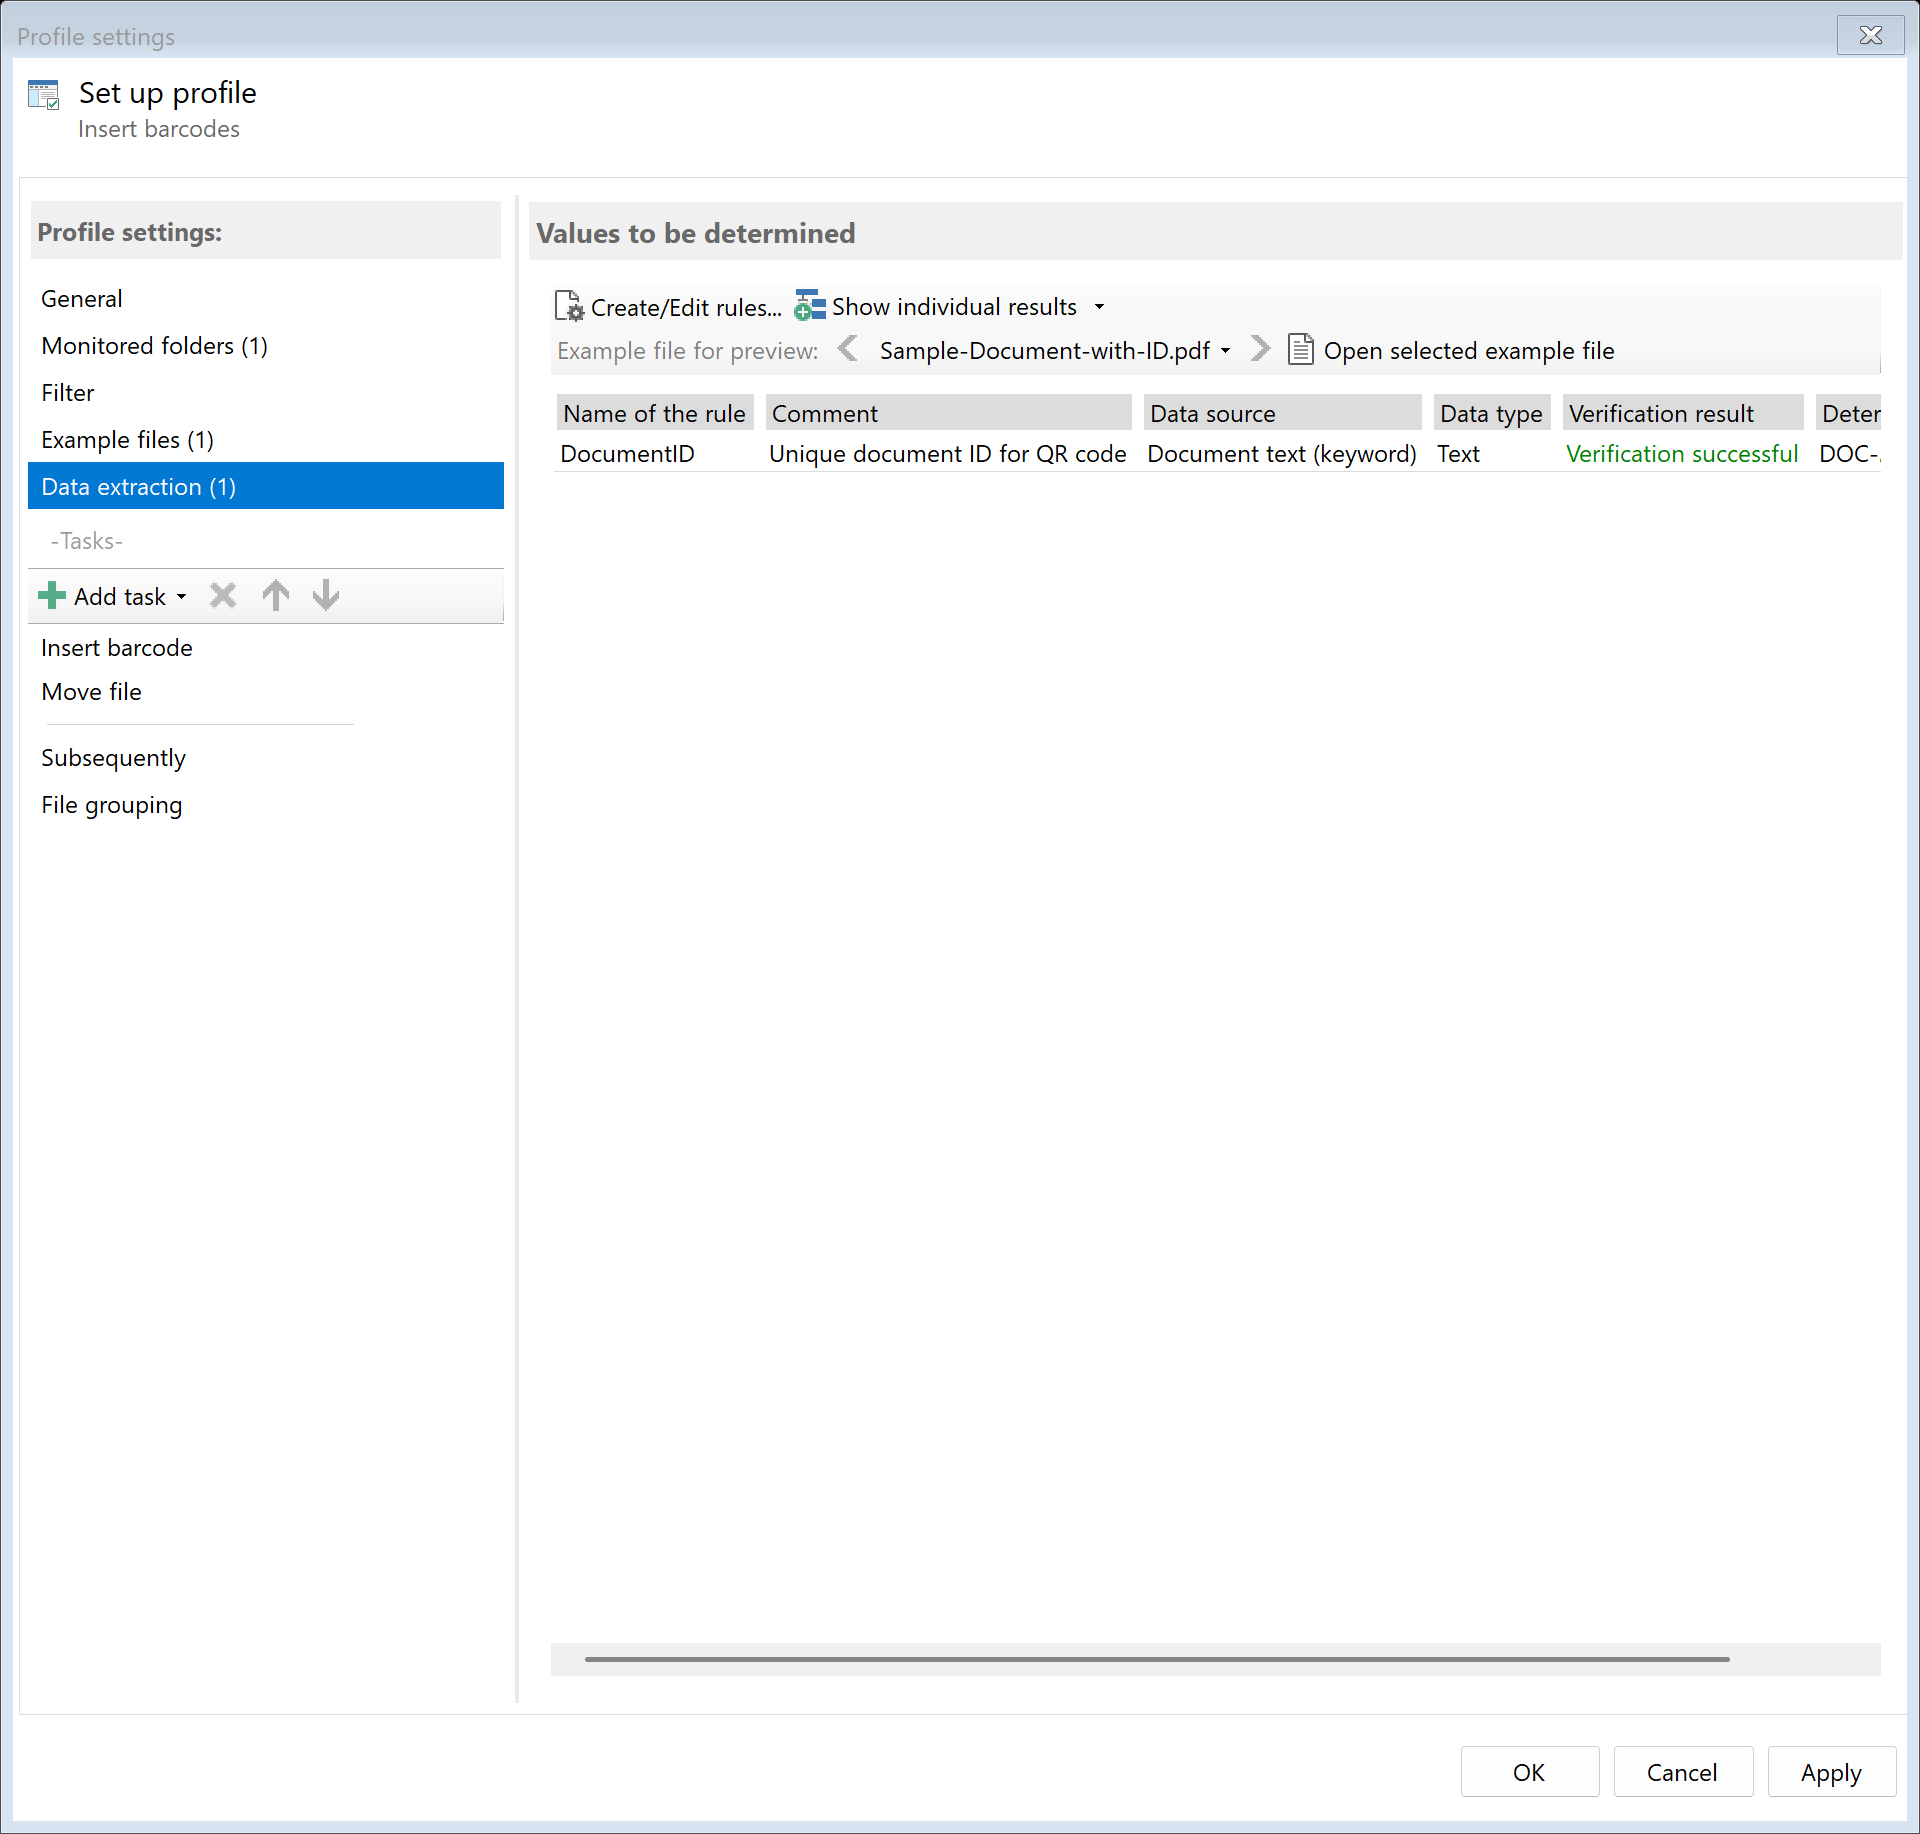
Step 2: Extract data for the barcode (optional)
If the barcode should contain dynamic content (e.g., an invoice number from the document),
first create an extraction rule for this data.
A detailed guide on data extraction can be found at:
Extract PDF data
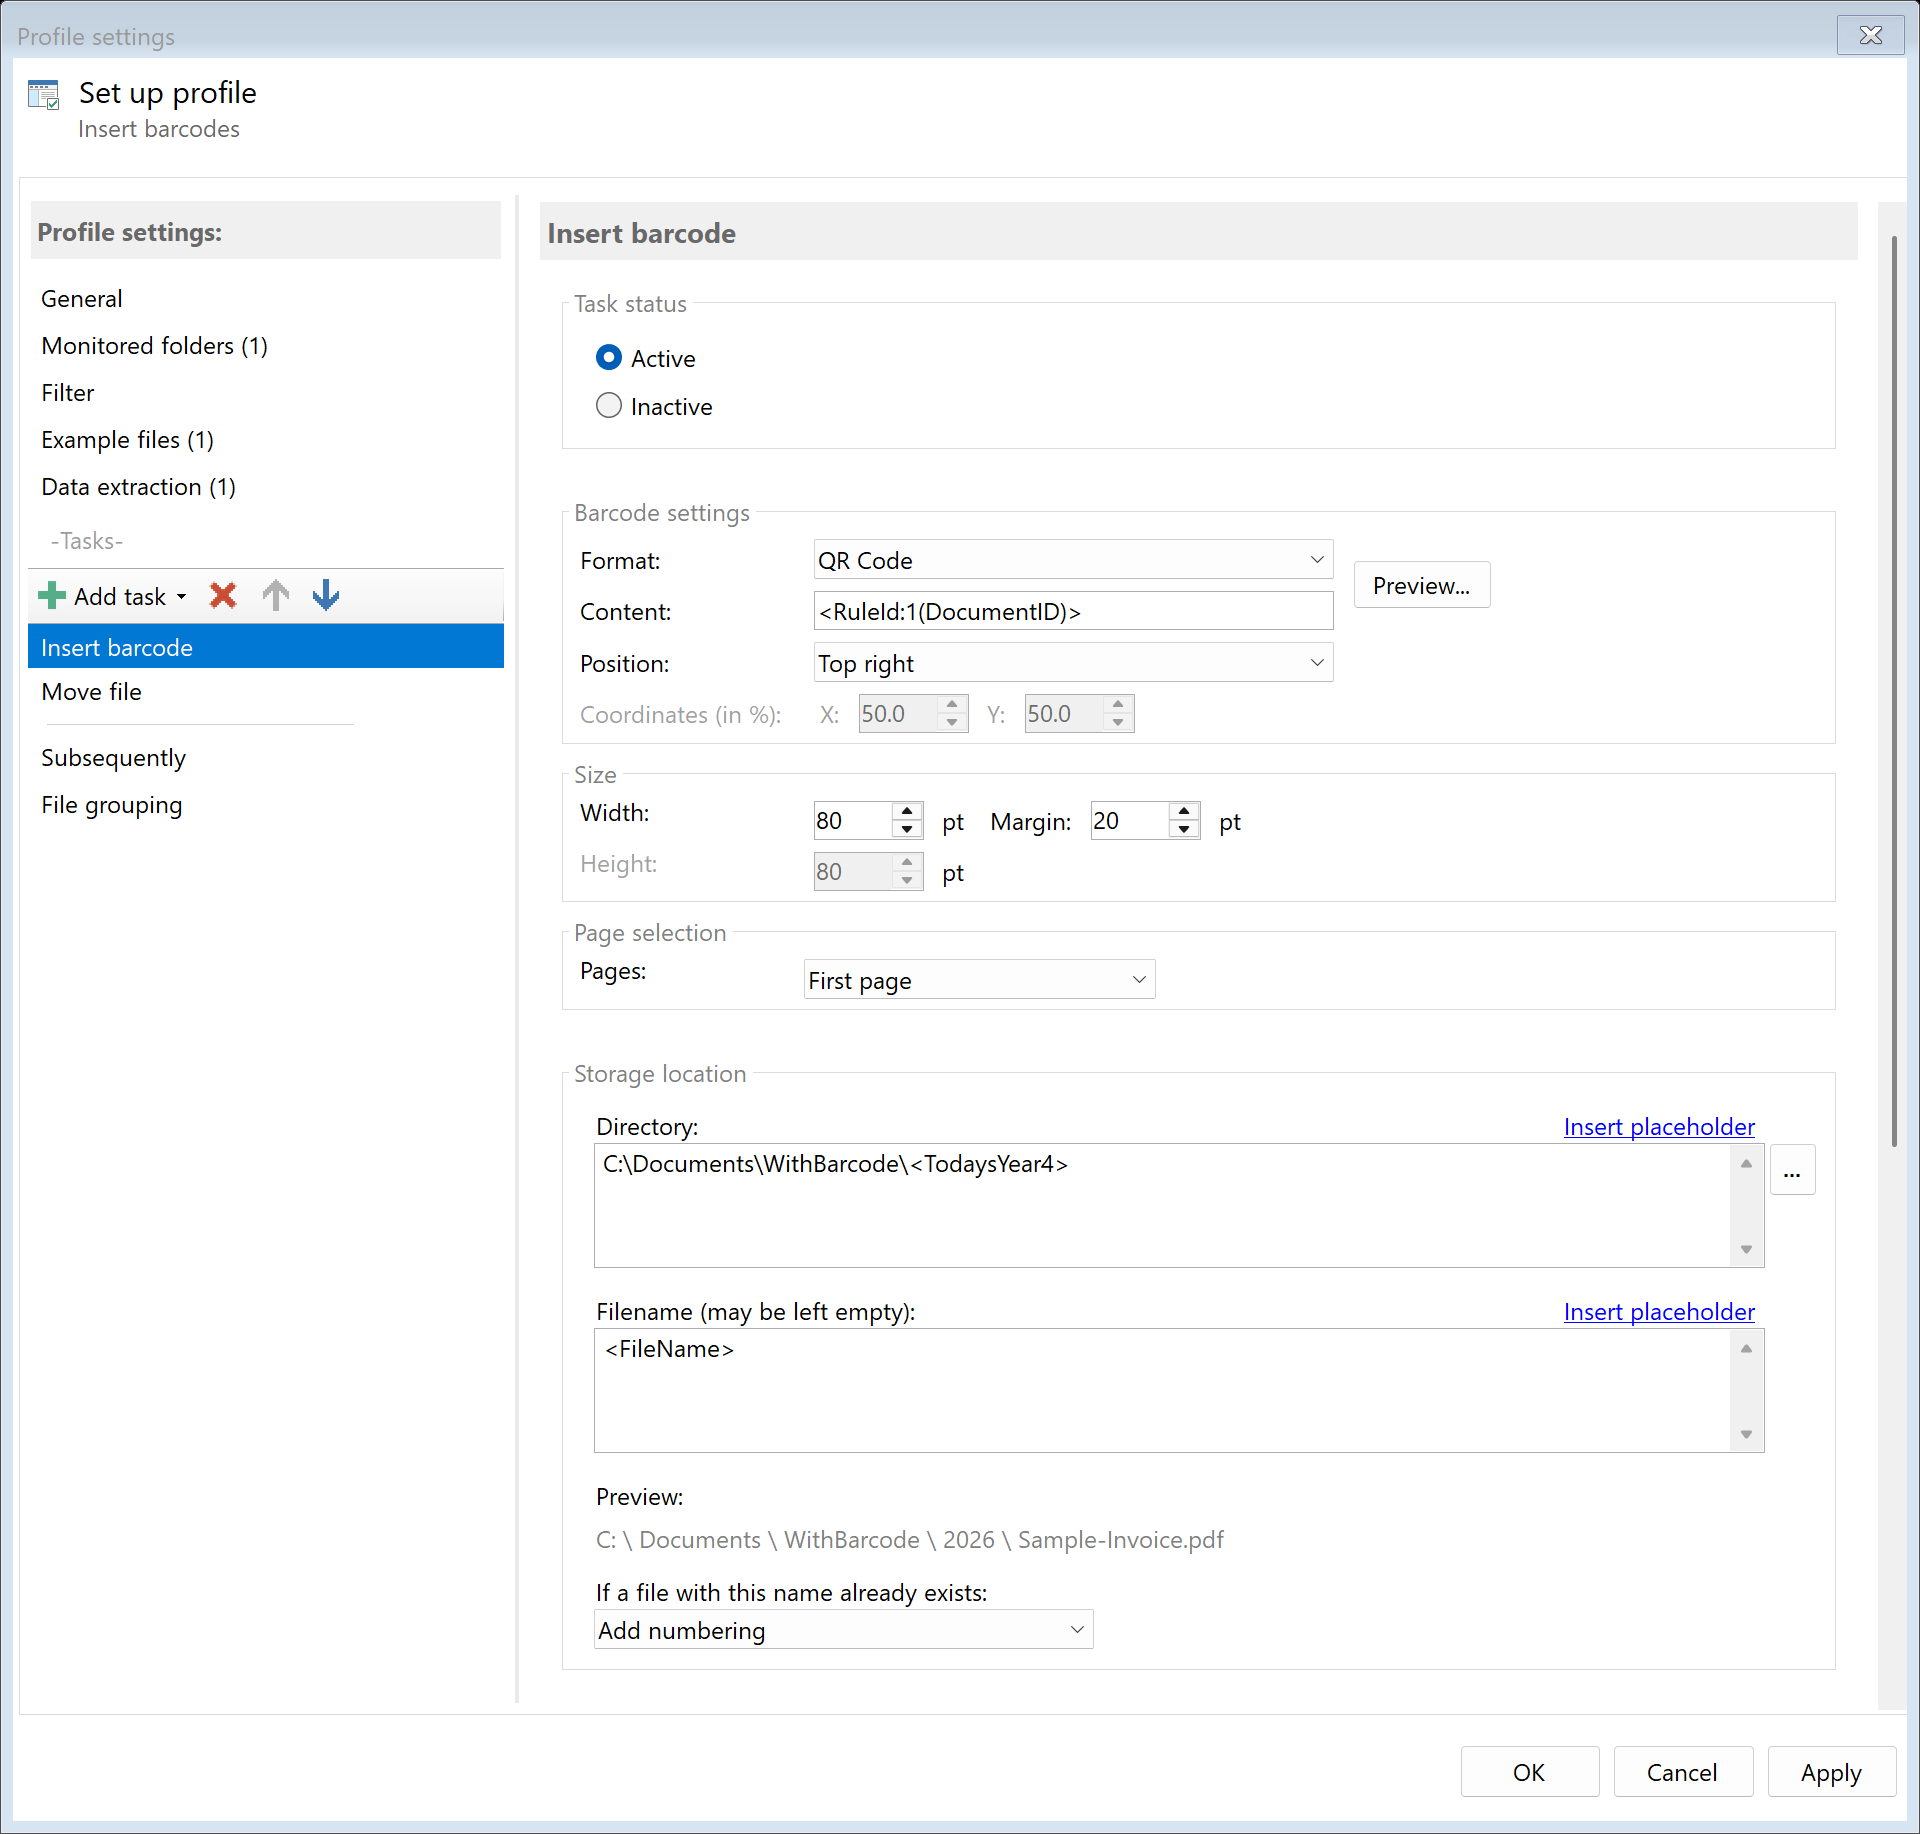
Step 3: Activate the "Insert Barcode" task
Go to the task view and select the "Insert Barcode" task.
Activate the task and configure the barcode settings.
Step 4: Select barcode format
Select the appropriate barcode format for your use case:
| Format |
Type |
Capacity |
Recommended for |
| QR Code |
2D |
~4000 characters |
URLs, extensive data |
| DataMatrix |
2D |
~2000 characters |
Industrial applications |
| Code128 |
1D |
~20 characters |
General numbering |
| Code39 |
1D |
~15 characters |
Simple codes |
| EAN-13/EAN-8 |
1D |
13/8 digits |
Product identification |
| PDF417 |
2D |
~1800 characters |
ID cards, transportation |
| Aztec |
2D |
~3000 characters |
Flight/train tickets |
Step 5: Define barcode content
Specify the content of the barcode. You can use placeholders to insert
dynamic content from the document:
Examples of barcode content:
- Fixed text:
DOC-12345
- Filename:
<FileName>
- Extracted data:
<RuleId:1(InvoiceNumber)>
- Combined:
INV-<RuleId:1(InvNo)>-<TodaysYear4>
- URL:
https://archive.company.com/doc/<FileName>
Step 6: Configure position and size
Define where the barcode should be placed in the document:
Predefined positions:
- Top left / Top center / Top right
- Middle left / Center / Middle right
- Bottom left / Bottom center / Bottom right
Custom position:
Specify the X and Y coordinates as a percentage of page width/height.
Size:
Set the barcode size in points. Typical values:
- QR Code: 50-150 points
- Code128: Height 30-50 points, width automatic
Step 7: Set page selection
Choose which pages the barcode should be inserted on:
- All pages: Every page receives a barcode
- First page: Only on the first page
- Last page: Only on the last page
- Page range: e.g., "1-3, 5"
Example: Document ID as QR Code
In this example, a sequential document ID is inserted as a QR code on the first page:
-
Create extraction rule:
- Name: "DocID"
- Data source: Sequential Number
- Start value: 1, Format: 000000
-
Configure barcode task:
- Format: QR Code
- Content:
<RuleId:1(DocID)>
- Position: Top right
- Size: 80 points
- Pages: First page
Result
After configuration, all PDF files placed in the monitored folder are automatically:
- Analyzed and placeholders resolved
- Barcode generated according to settings
- Inserted at the configured position
- Saved as a new PDF file